I was inspired by the
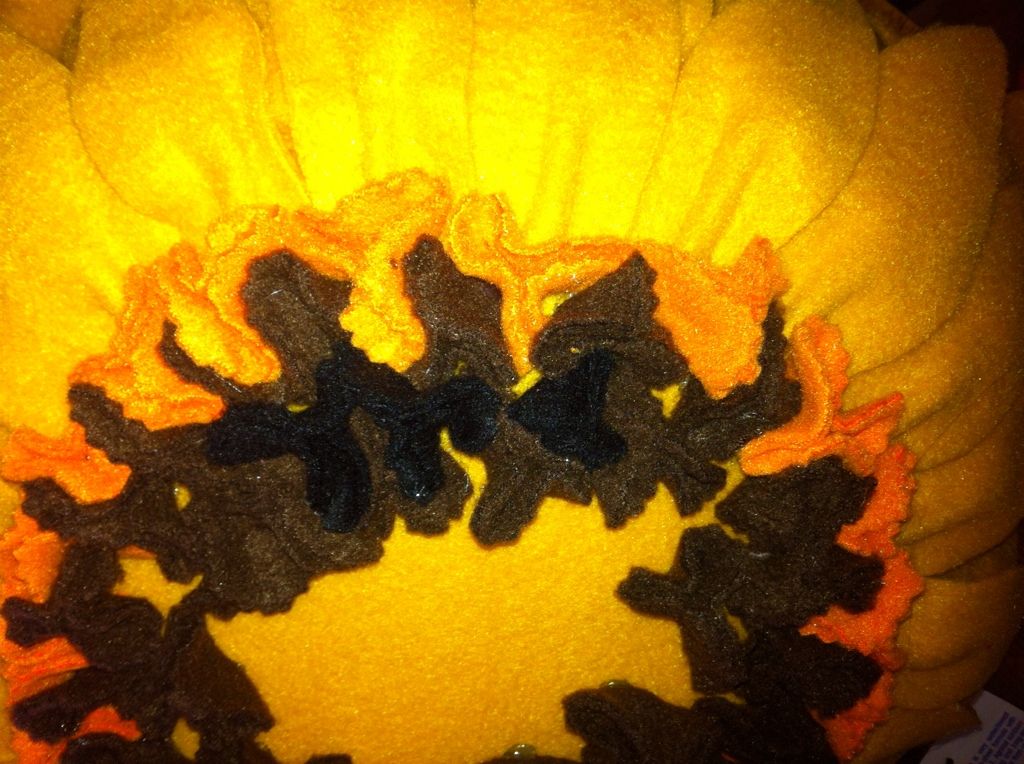
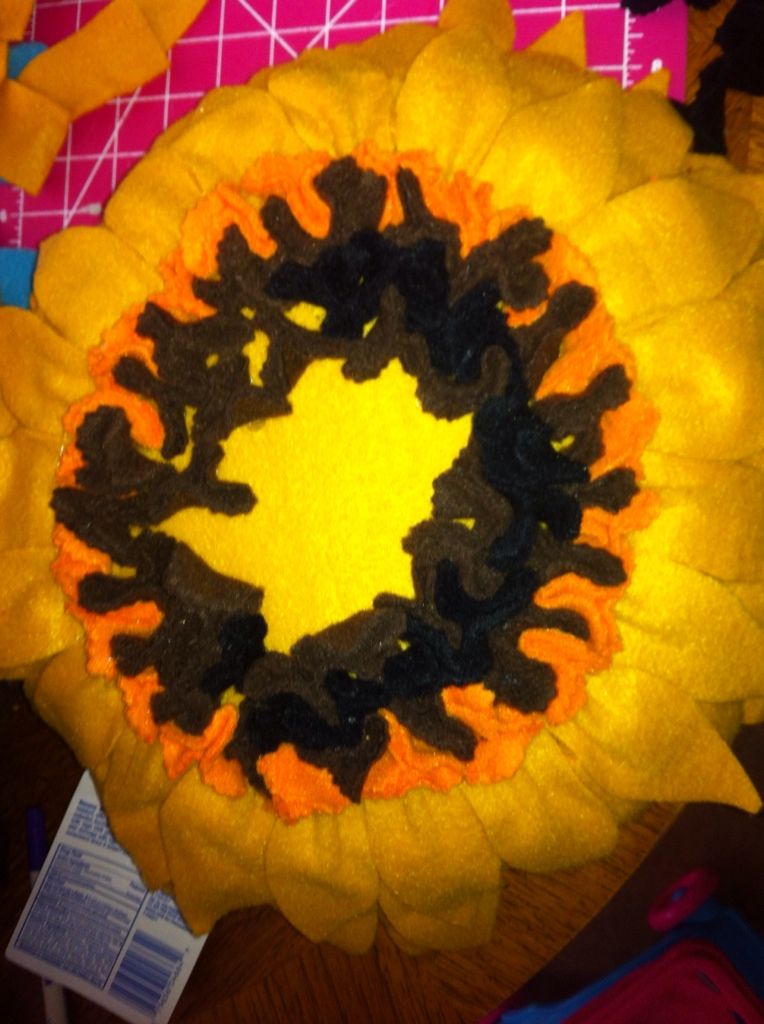
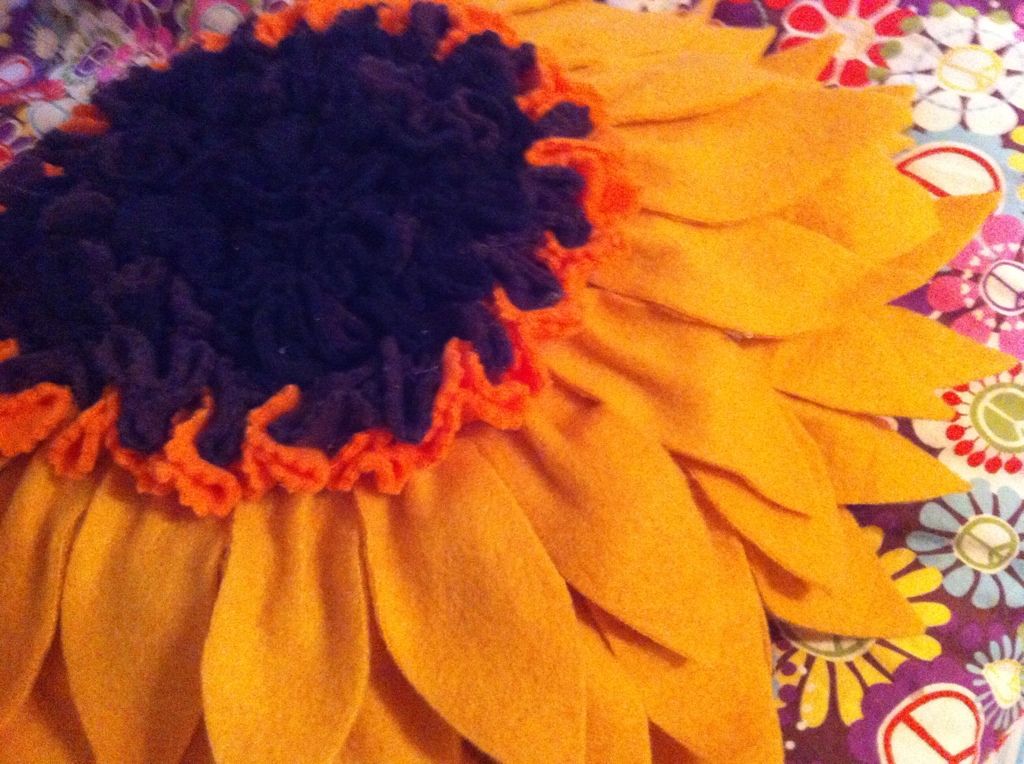
fleece pillow tutorial I posted about over the weekend, and I had this vision of a sunflower version I could not wait to try. So, while Joann's was having their blizzard fleece solids super cheap, plus the extra 25% off your entire purchase ($3/yd!!), I ran up there 30 minutes before closing and got the supplies. Then, it took me until today to complete my masterpiece because I've been awake for the last 3 days with my poor 2 year old and her nasty stomach bug. Toddlers and puking do not go well with anything.
I have to say, I love how this came out. Even my almost 13 year old liked it, and that's saying something! Woohoo! The only thing I'd change was that I used a mustard yellow fleece and I'd probably do it in a brighter yellow if it was for a child's room. This darker yellow just gives me harvest gold 1970s afghan on the back of the couch vibes. It's perfect for a hipster's couch ;).
Below is the tutorial, I will make it into a printable PDF and put it on my website and Craftsy.com later today. For the time being, you can download my petal template at the link under the materials list.
Materials:
1 yd of yellow fleece
1/8 yd of orange fleece
1/8 yd of brown fleece
¼ yd of black fleece
½ lb of Polyfil stuffing
Hot glue gun
Hot glue
Pinking shears
Thread
Instructions:
1.
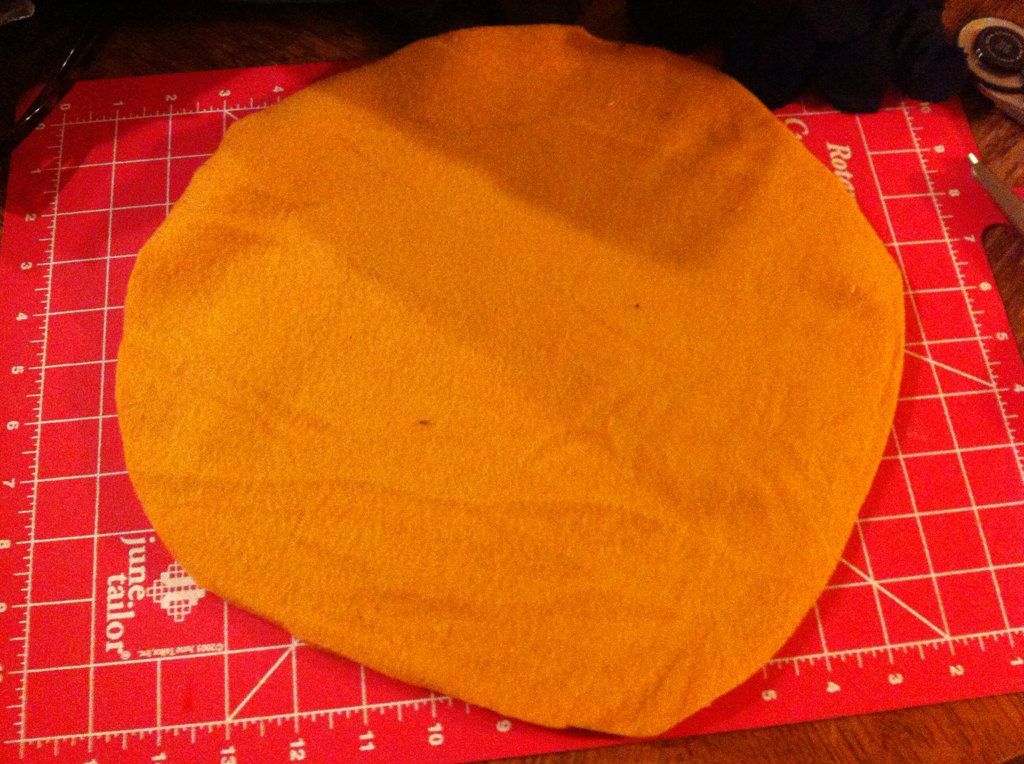
Take a large dinner plate and trace it (roughly
14 inches in diameter). Then, using the
template cut out two circles of yellow fleece.
2.
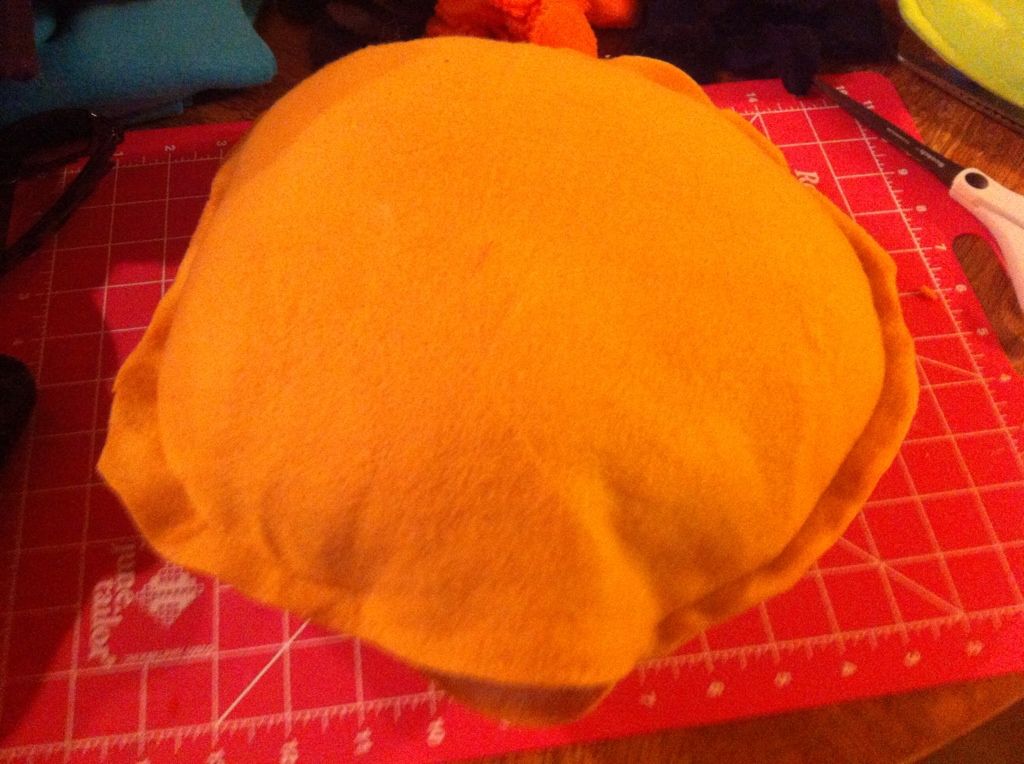
With WRONG SIDES TOGETHER, using a ½ inch seam
allowance, sew around the circles, leaving a 3-4 inch opening. This could also be done with hot glue.
3.
Stuff the pillow until satisfied with it’s
shape, then sew the opening closed.
4.
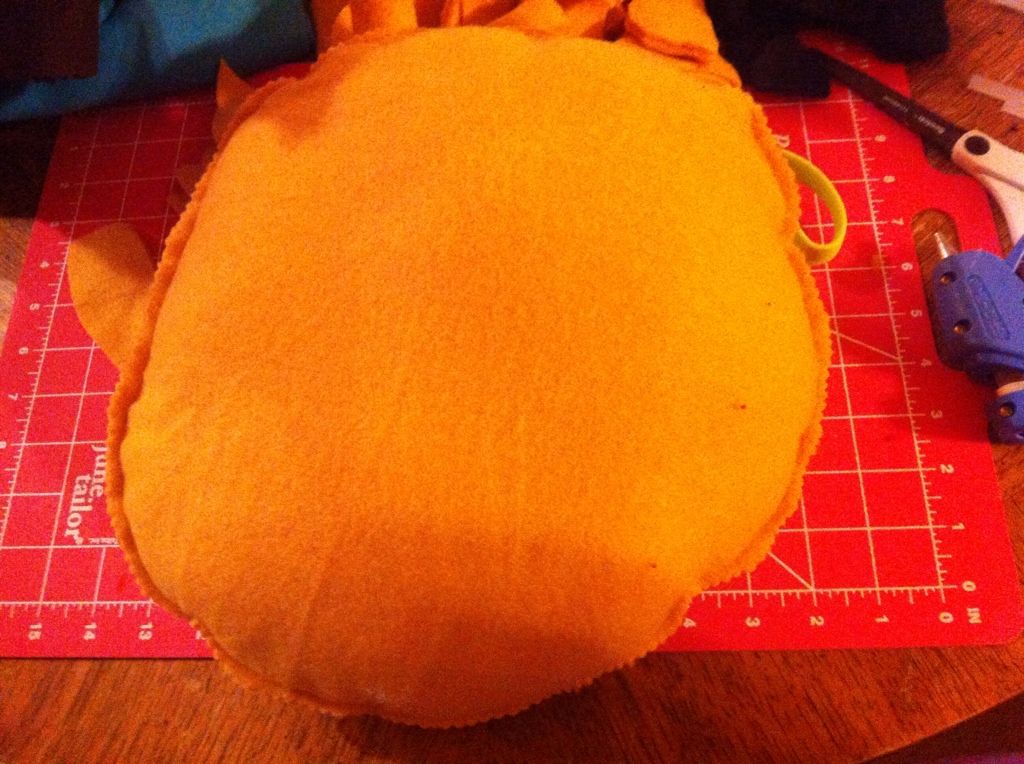
Pink the edges of the seam to get a uniform
look.
5.
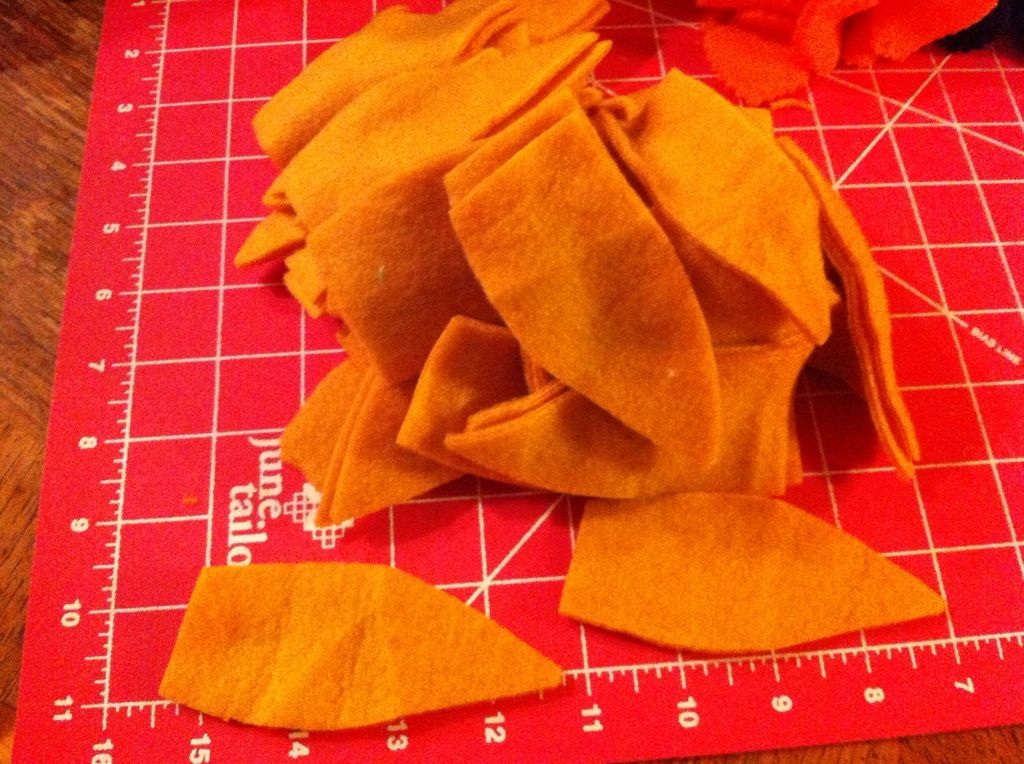
Cut 3 strips of the fleece 4 inches in length by
the entire width of the fabric (usually about 60 inches). Cut petals from the yellow fleece. You need enough petals to make three
rows. The pattern piece is at the top of
these instructions.
6.
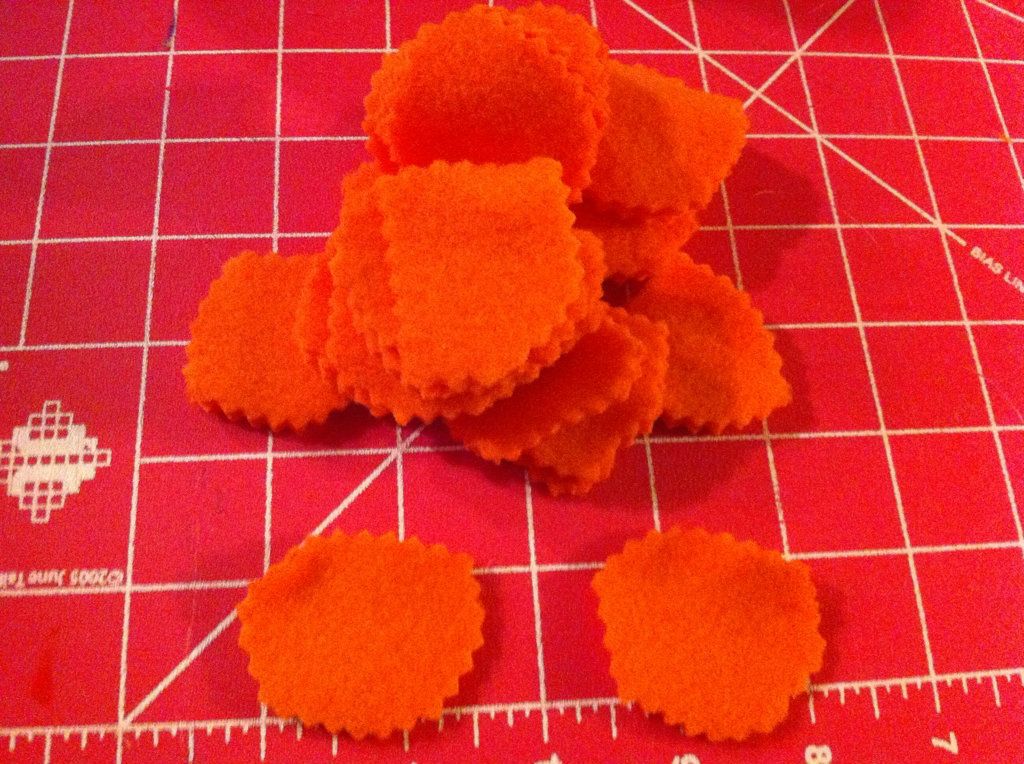
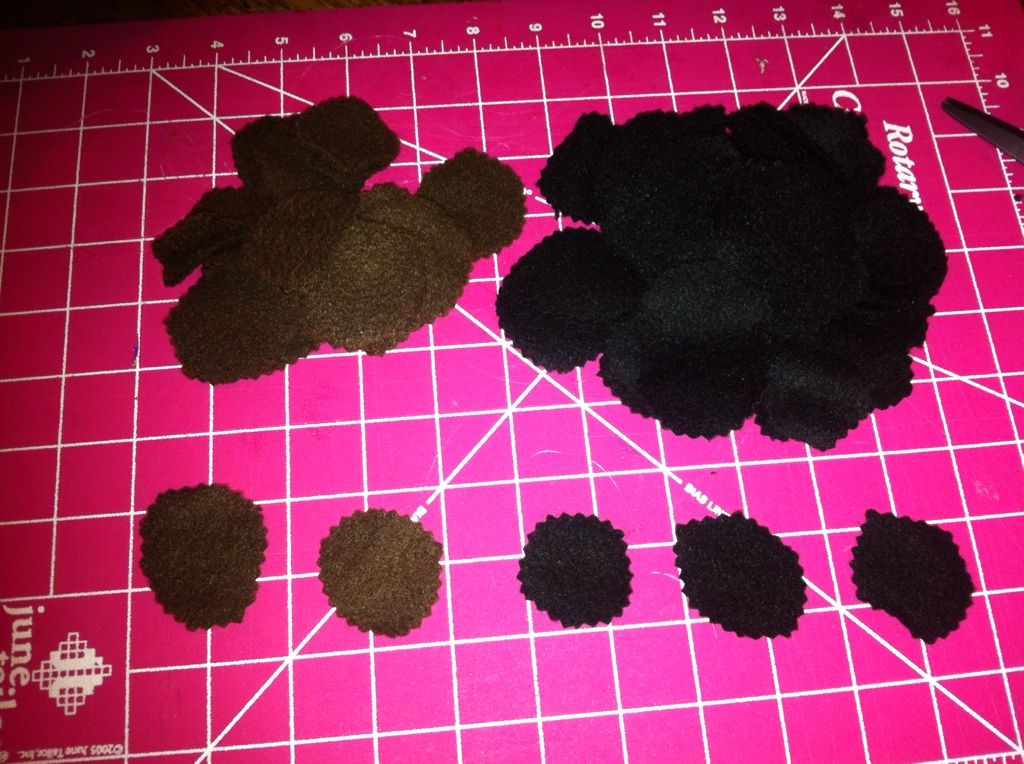
Using pinking shears, cut circles about 1.5
inches in diameter from the orange, brown, and black fleece. You will need 3 or 4 times more black circles
than orange and brown. They do not need
to be perfect circles.
7.
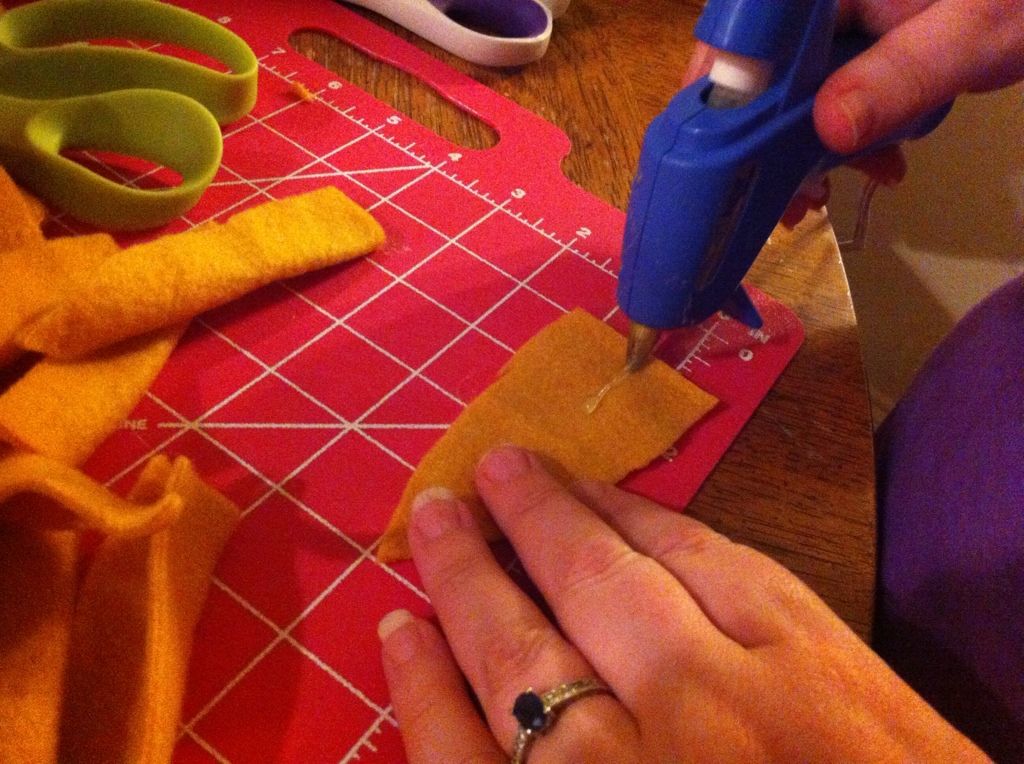
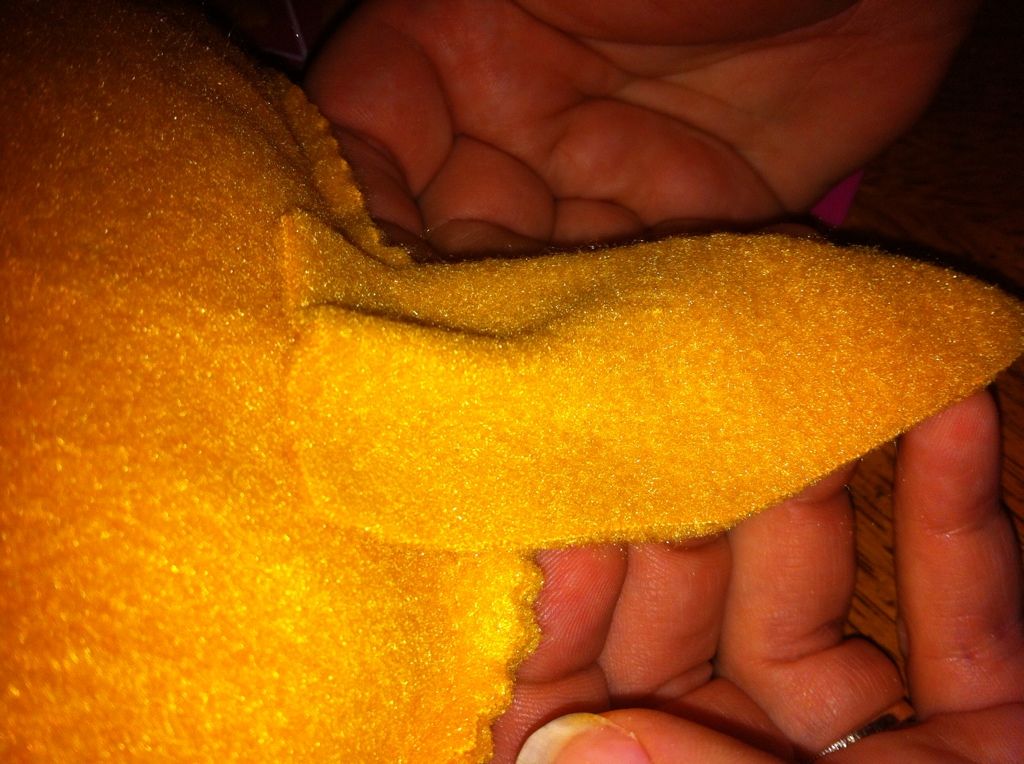
Begin
with the petals. First, take a handful
of petals and put a 1 inch line down the middle back and fold them in half as
shown.
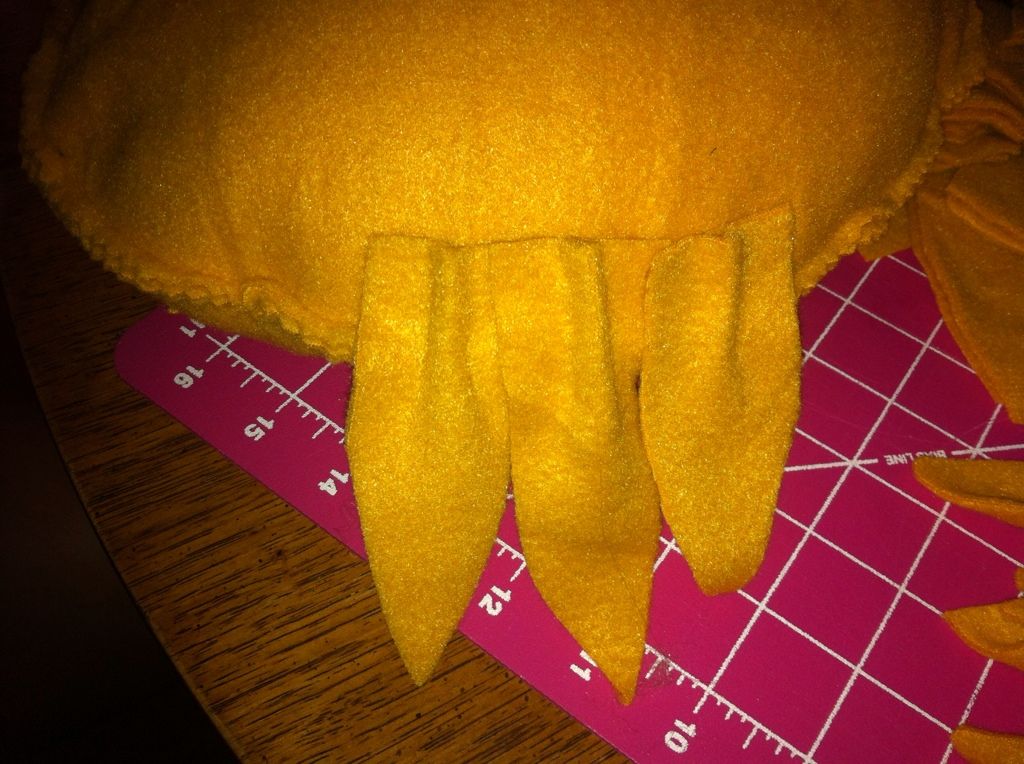
8.
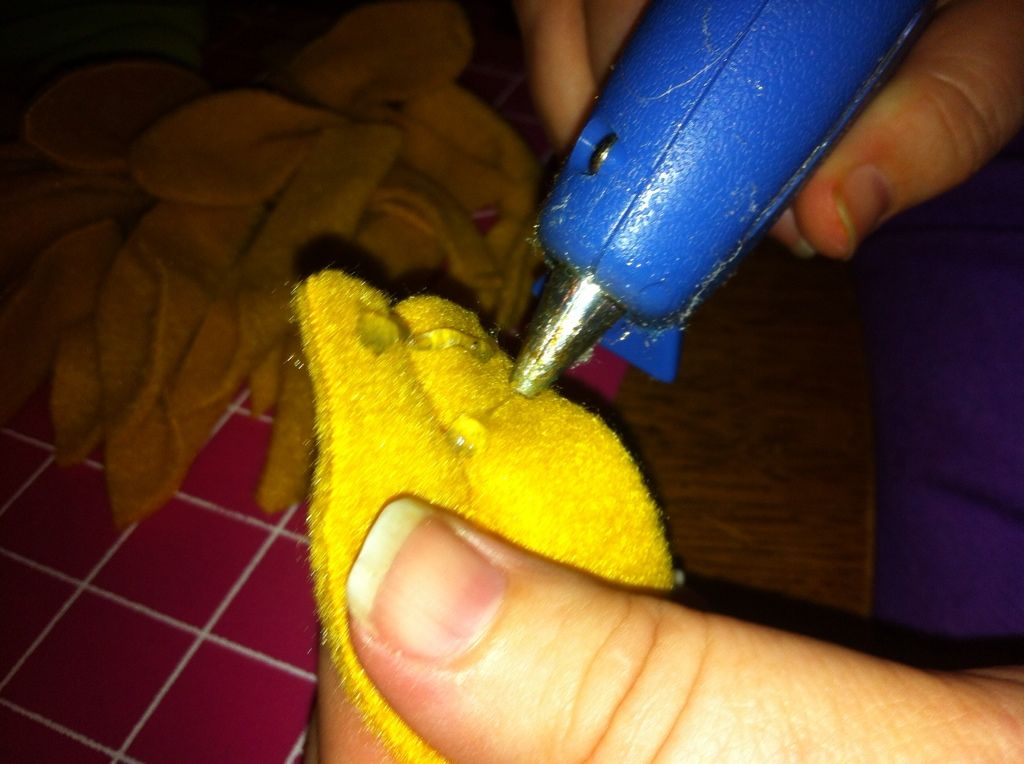
Then,
when they have dried a little, I take one at time and add glue at the edge and
a dot at the end of the line I previously made and glue them to the pillow.
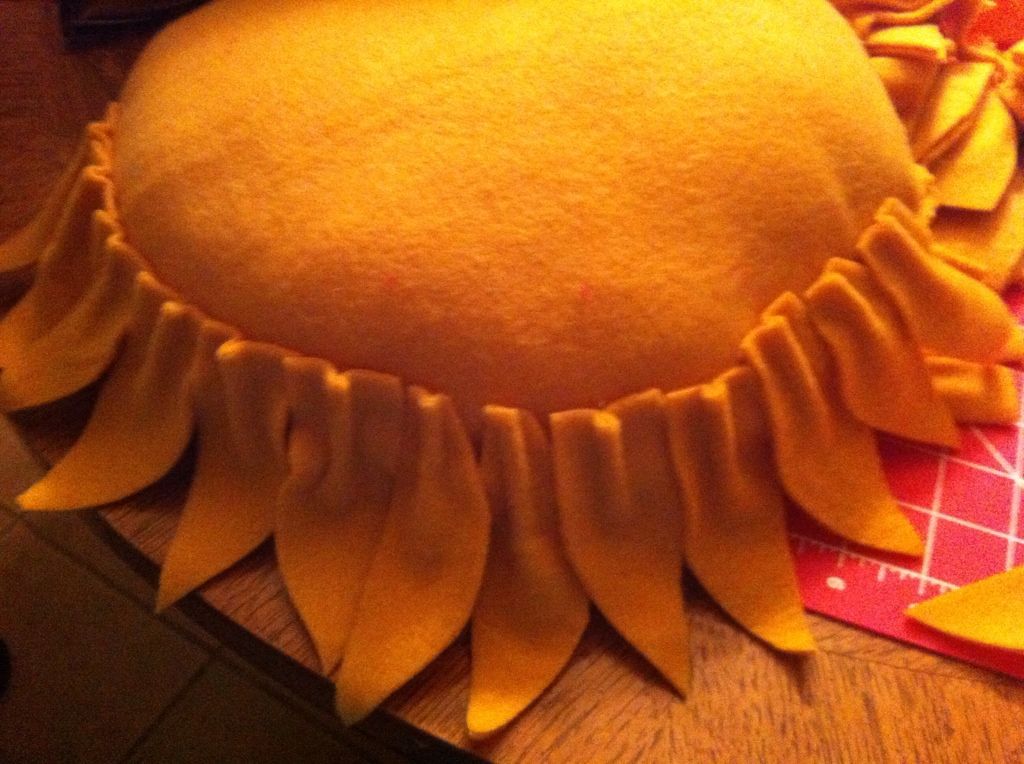
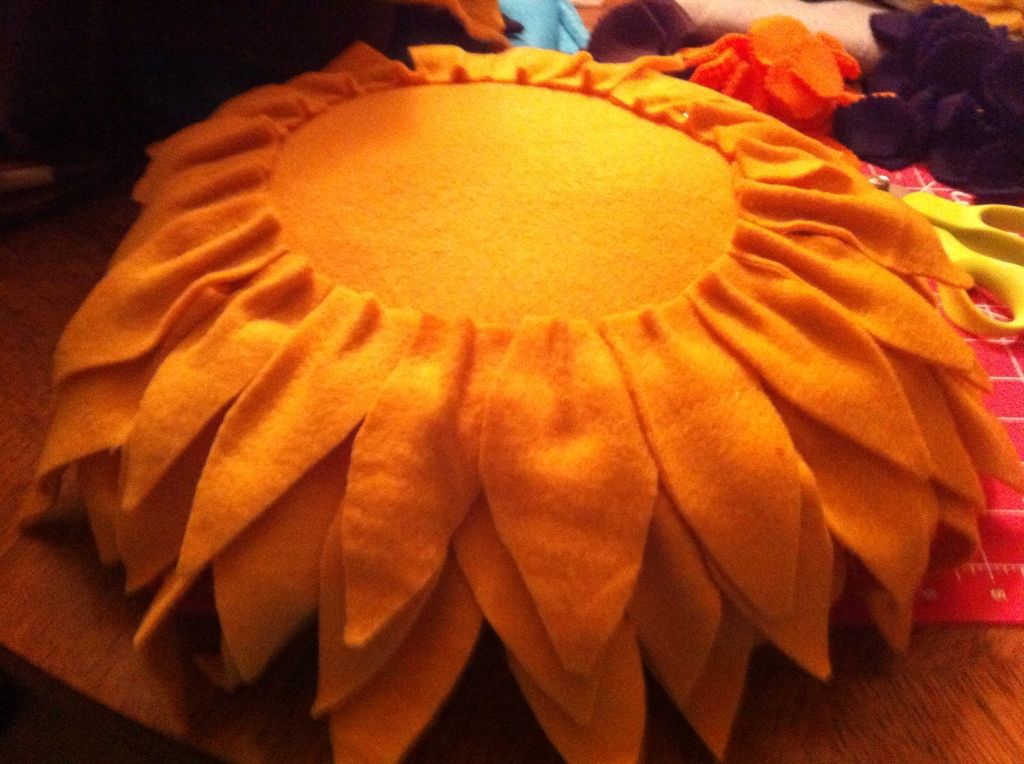
9.
Place the glued edge of the petals about 1.5
inches above the pinked seam. Begin
overlapping the petals just slightly as shown in the picture. Complete an
entire circle of petals.
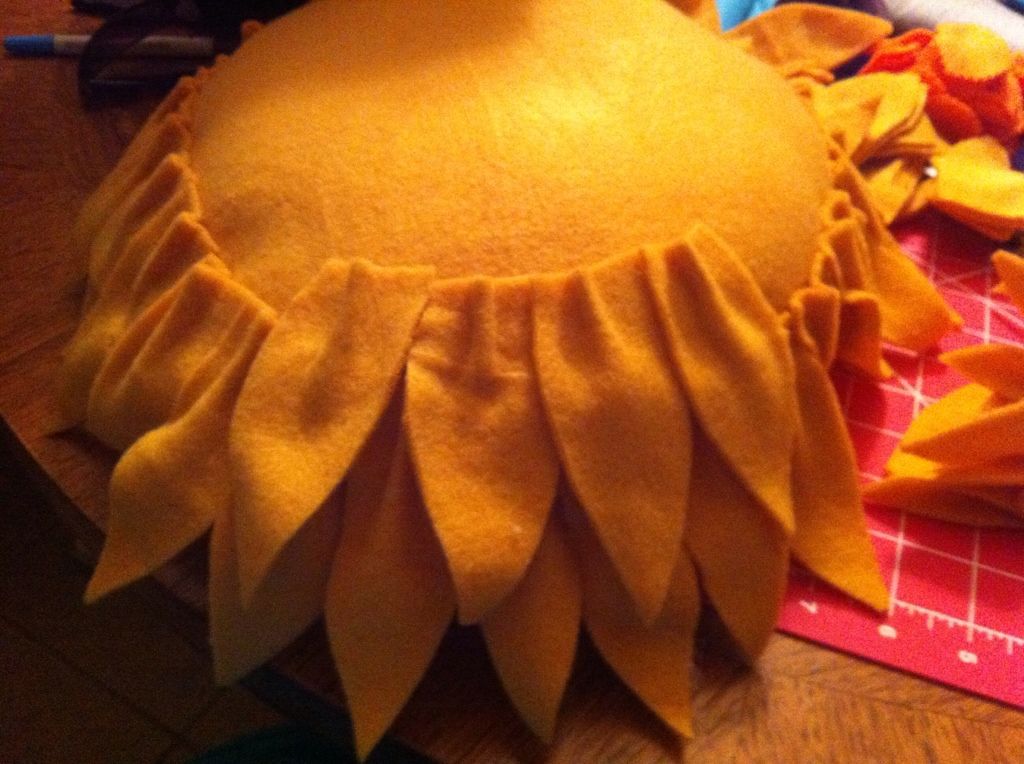
10.
The
second row will be placed about 1.5 inches above the glued edge of the first
row as shown in the picture. Then, the
third row will be about 1 to 1.5 inches above the second row’s glued edge.
11.
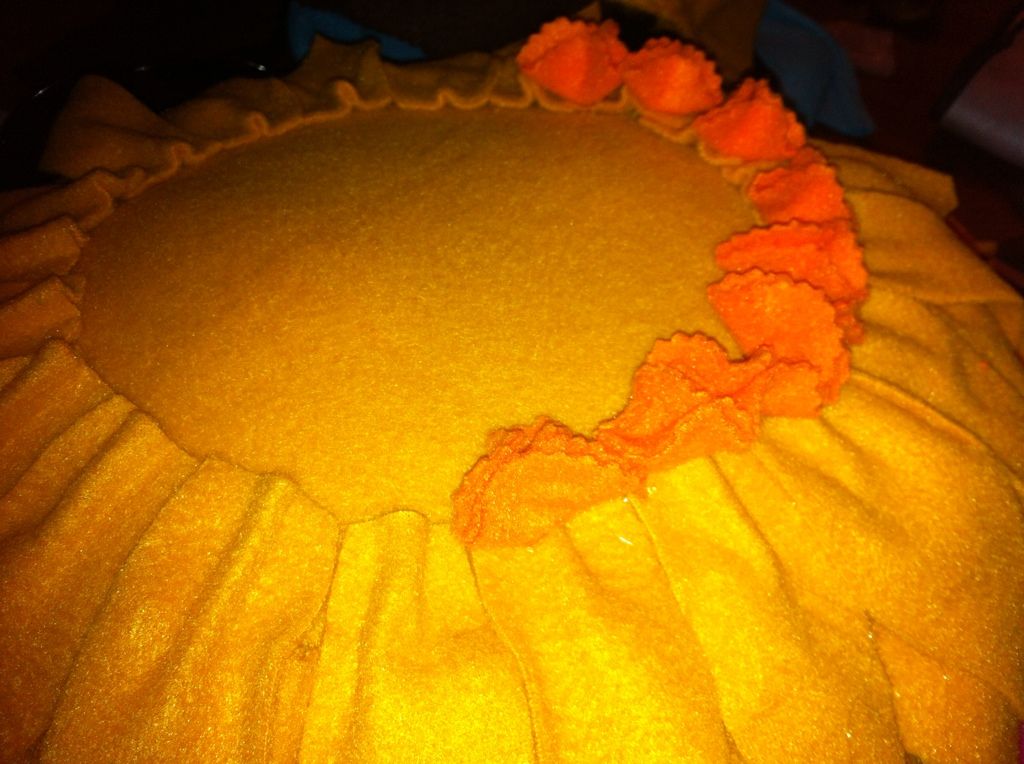
Take the
orange circles, place some hot glue in the center and then pinch them into a
trifold as shown.
Then, begin gluing
them in place around the raw edge of the inner most petal circle until they are
an entire circle around the petal edges as shown.
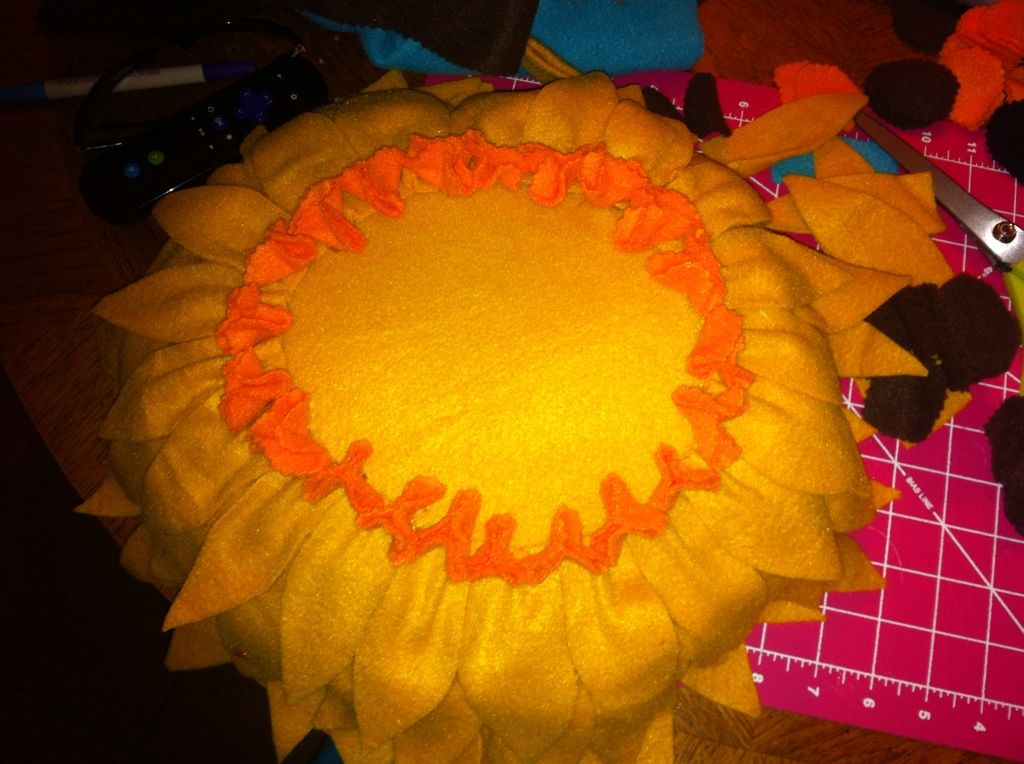
12.
Next,
make trifold circles from the brown and begin interspersing them between the
orange circles as shown.
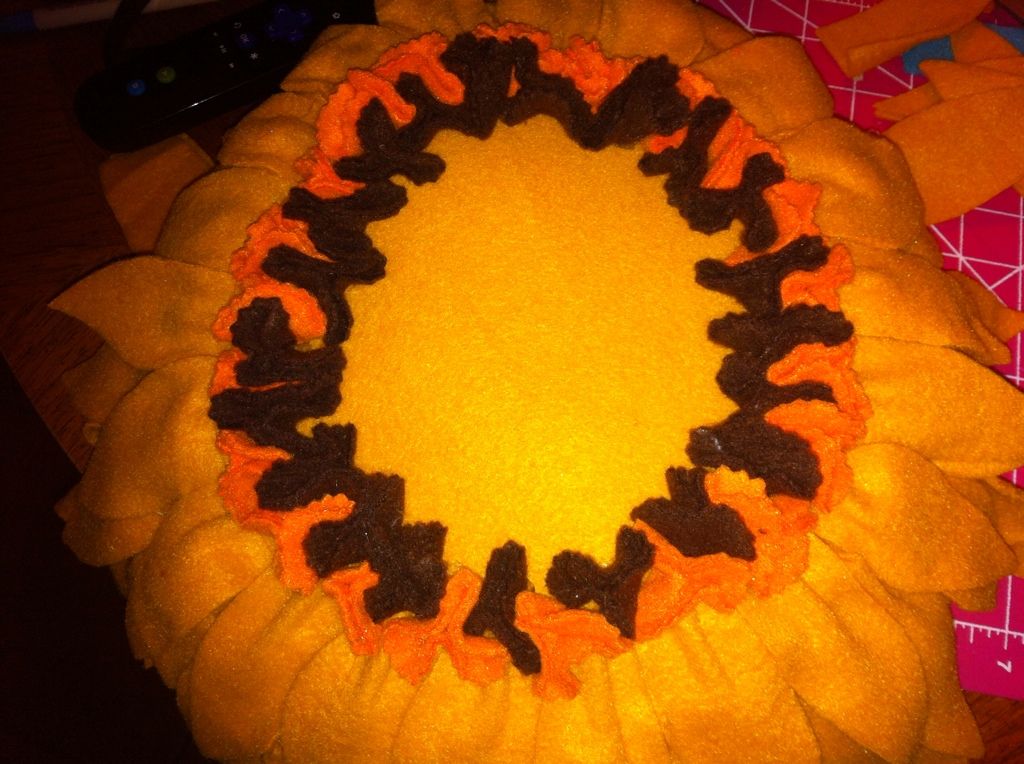
13.
Then,
begin the next inner circle with both black and brown trifold circles, as
shown.
14.
Lastly,
fill in the rest of the inner most part of the flower with black trifold
circles until you cannot see anymore yellow underneath.
And
you’re done!!


 Busy bags are basically ziplock bags of fun for your child, that have everything in the bag to do the activity. Prior to the swap, I had never heard of these and had to google them. They looked like so much fun, I decided to join the swap. I go volunteer at Mr E's school and I always bring a bag of fun stuff for Miss Molly. I thought busy bags would be extra fun for her to play with while I'm doing projects or copies for the teachers.