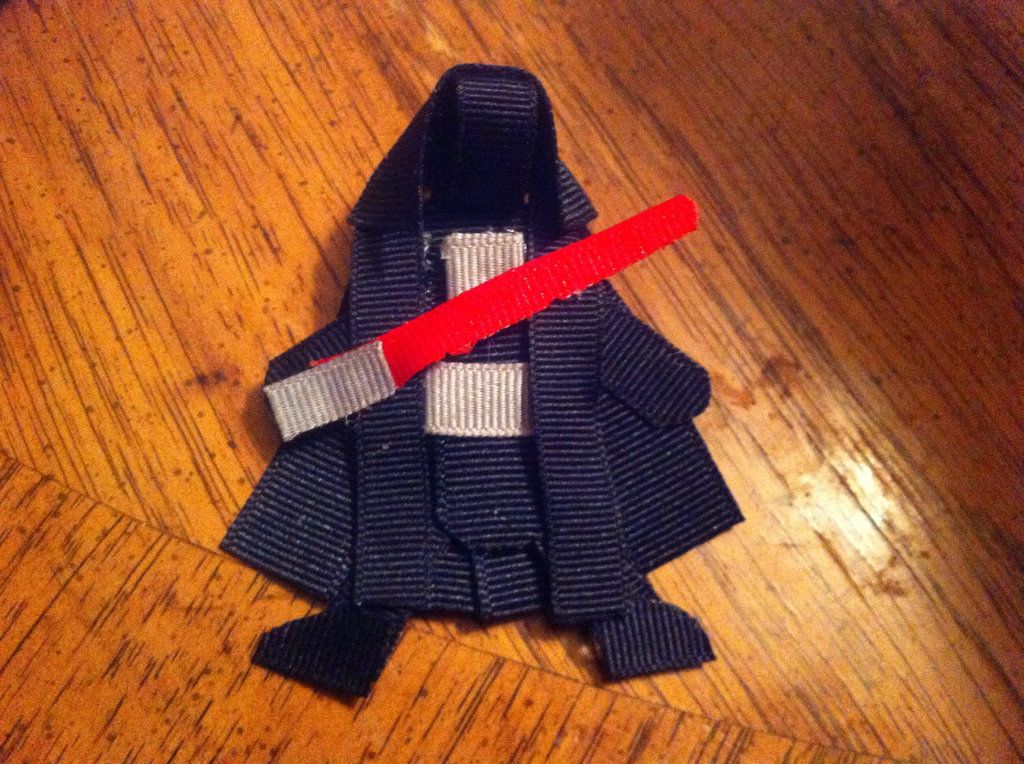
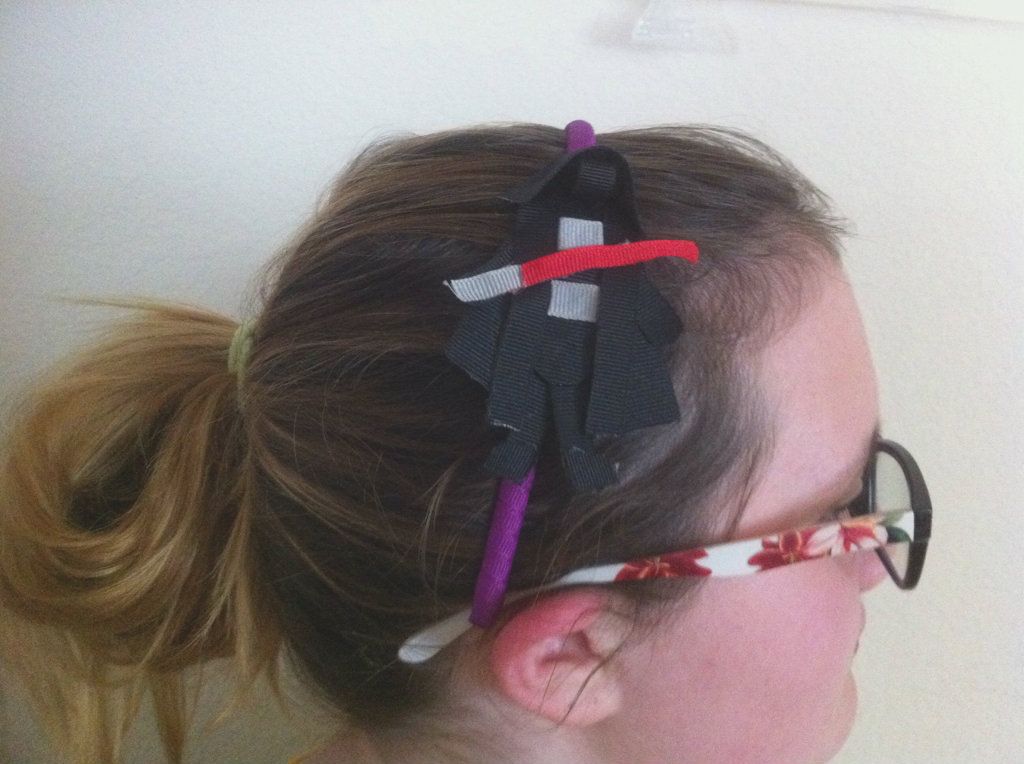
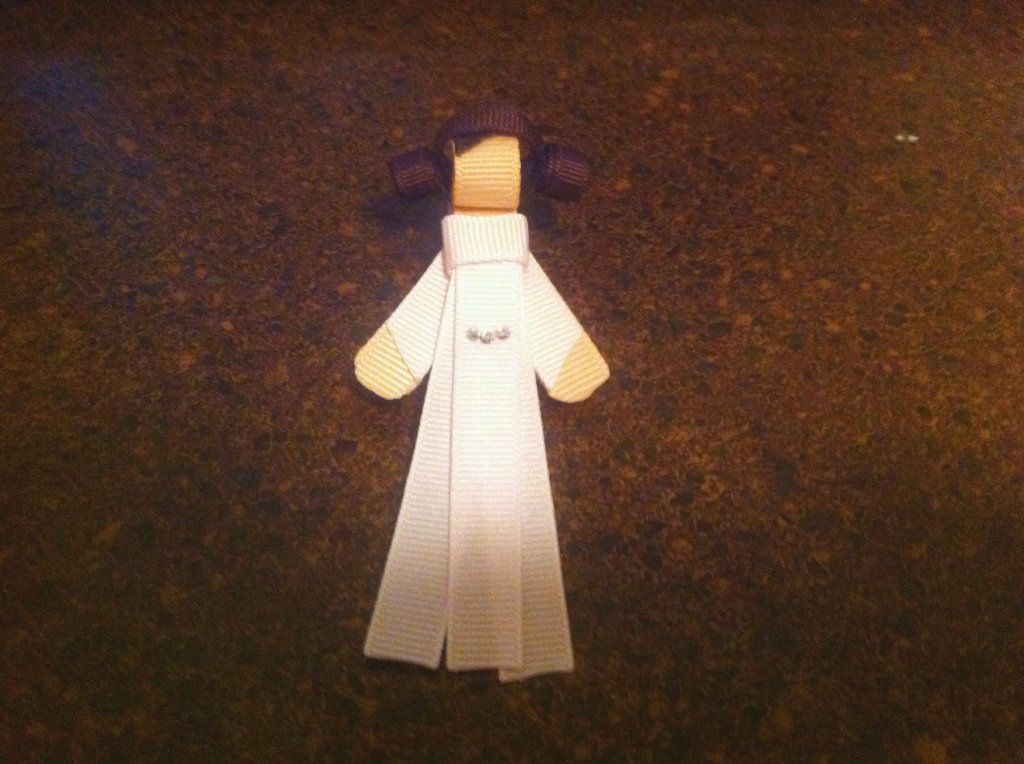
This is Part 3 of my Star Wars Ribbon Sculpture tutorial. This tutorial
will show you how to make a Darth Vader ribbon sculpture hair
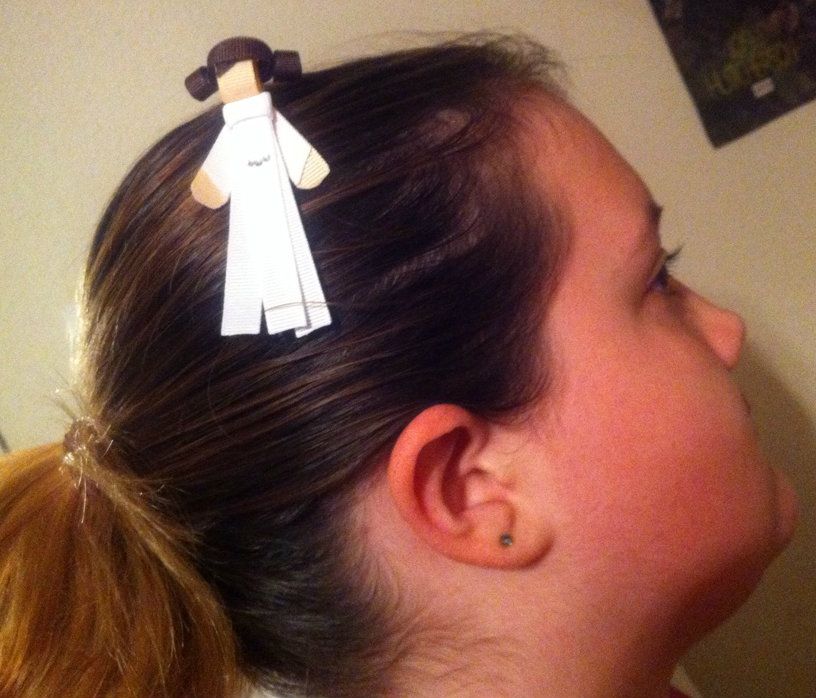
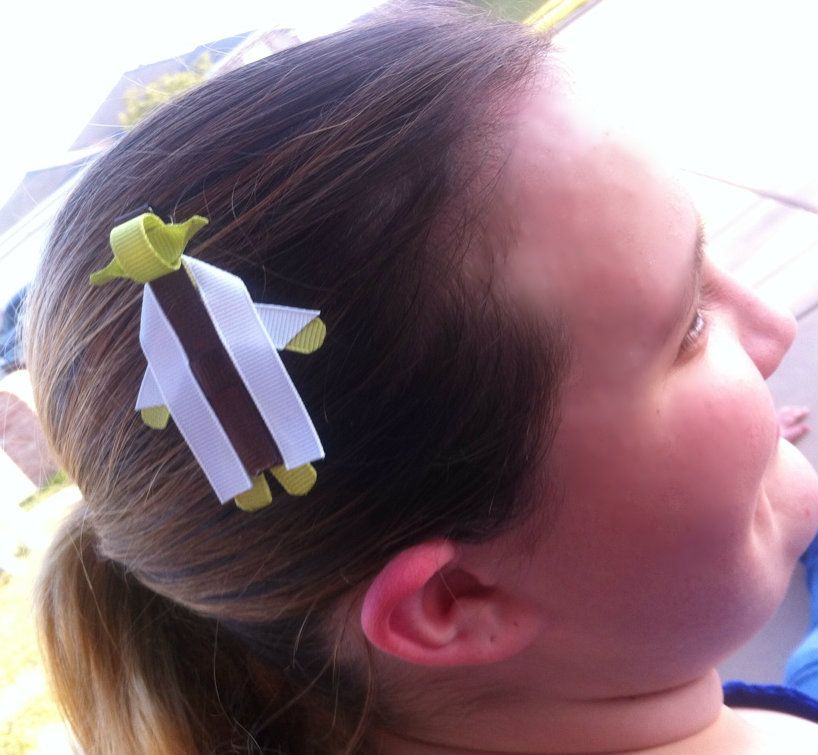
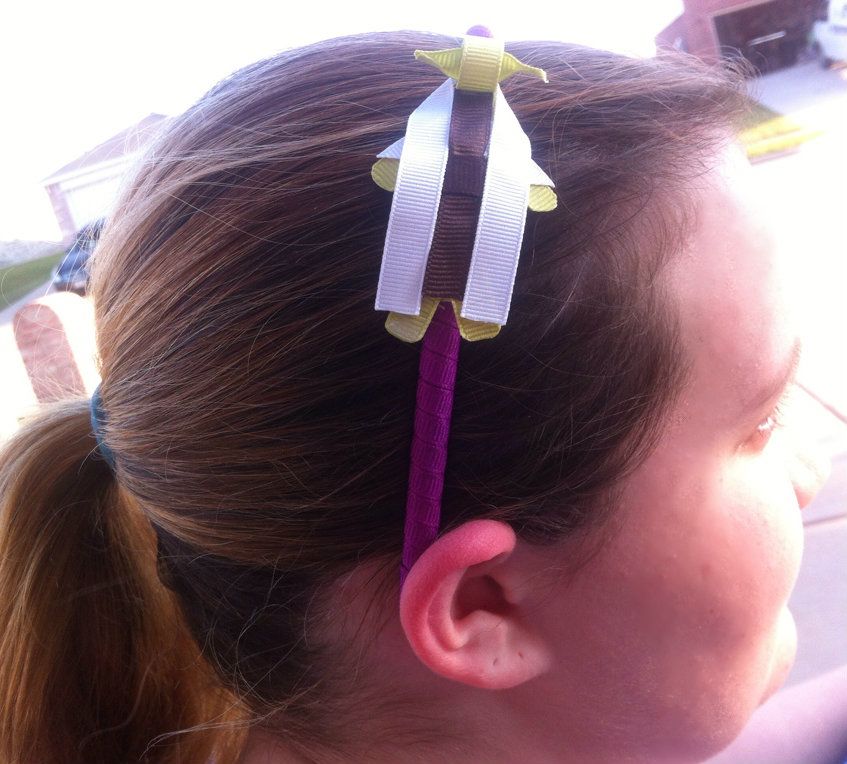
decoration. I have it pictured both on a hair clip and on a headband,
so you can see which you like better.
As in my previous posts, I've seen tutorials that tell you to use that fray
spray, but I don't like it. I prefer to seal my ribbon edges with FIRE! Since I've started this tutorial, I purchased a woodburning tool (with my 50% off coupon!!) from one of the craft stores, and it works great. You just barely run the edge of the tool along the raw edge and it seals easily and quickly.
Darth Vader Ribbon Sculpture Hair Clip / Headband Tutorial
Materials:
Hot glue gun or fillet tape
Scissors
Lighter or wood burning tool to seal edges
Ribbons:
- Black 3/8 inch: 1 piece of 3.5 in, 2 pieces 5/8 in./ea, 4 pieces of 1.25 in, 1 piece 5.5 in
- Black 5/8 inch:2 pieces 2 in, 4 pieces 2.5 in
- Gray 3/8 inch:1 piece 1 in, 1 piece .75 in, 1 piece 1.5 in
- Red 3/8 inch: 2.25 inch
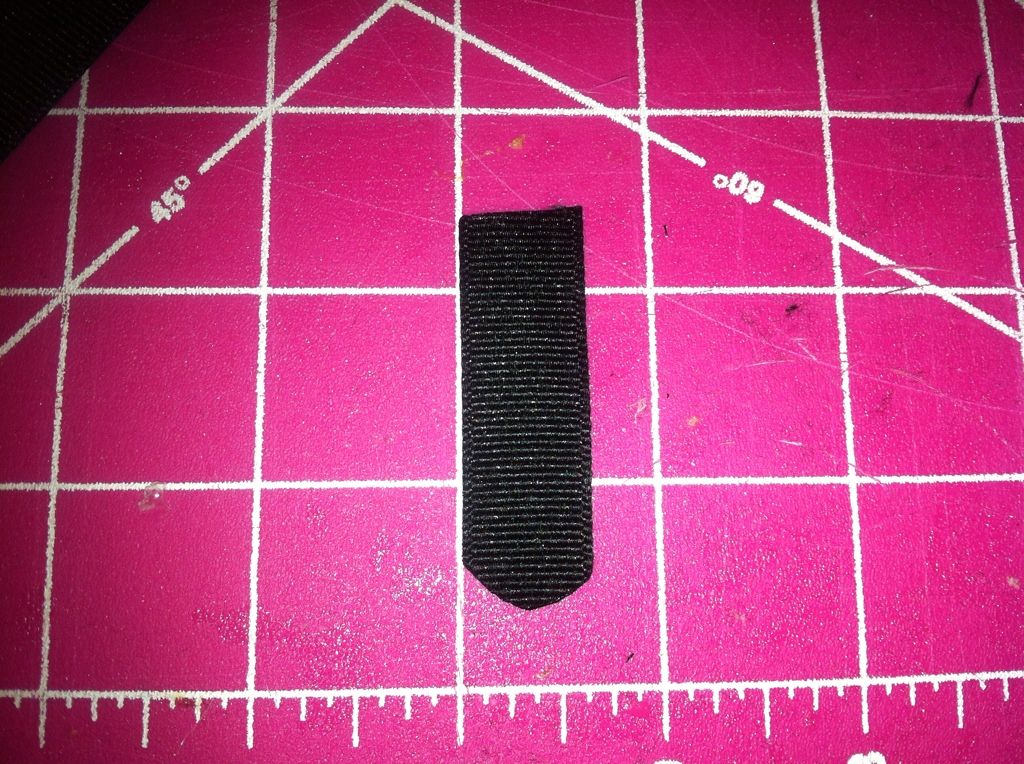
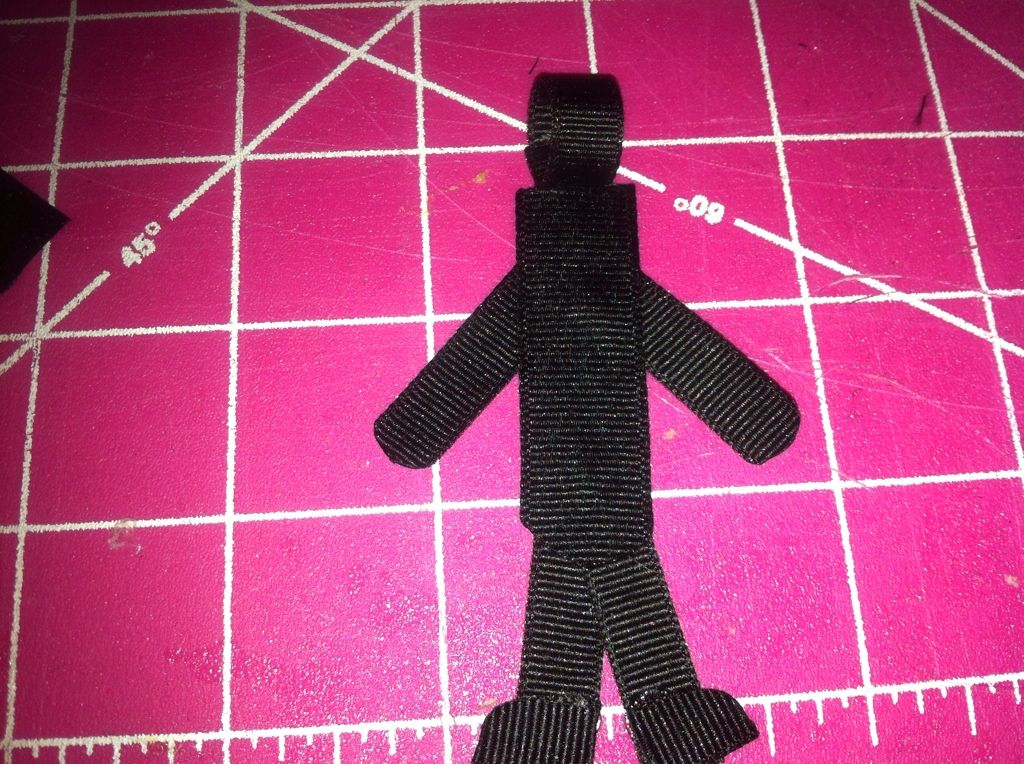
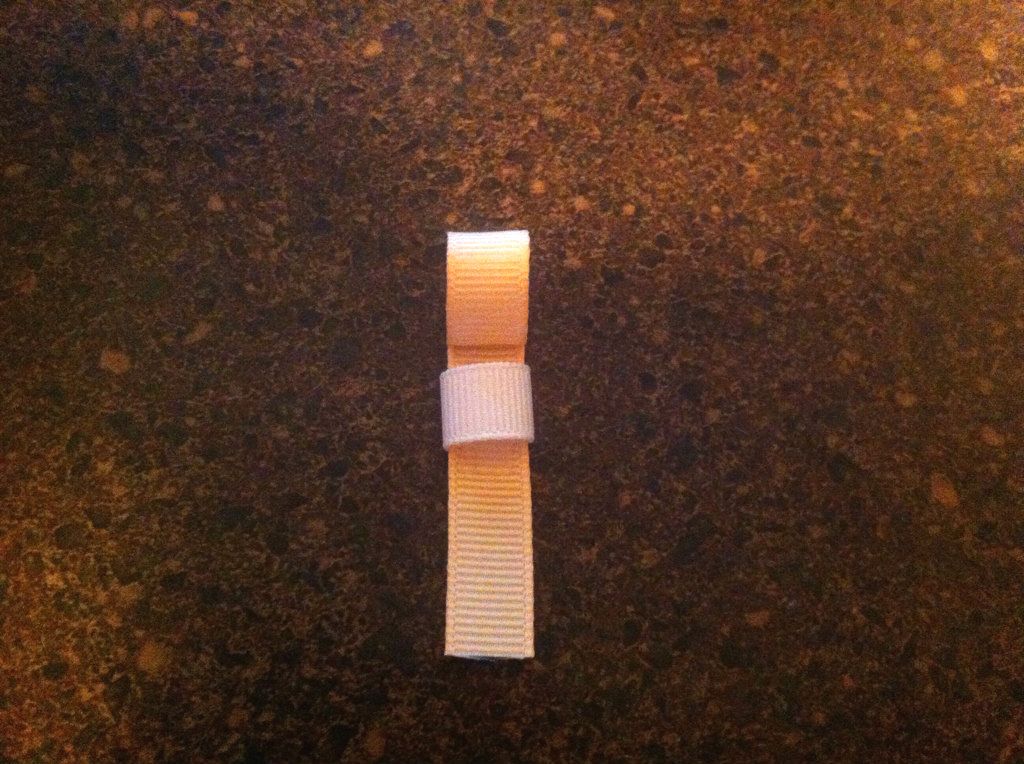
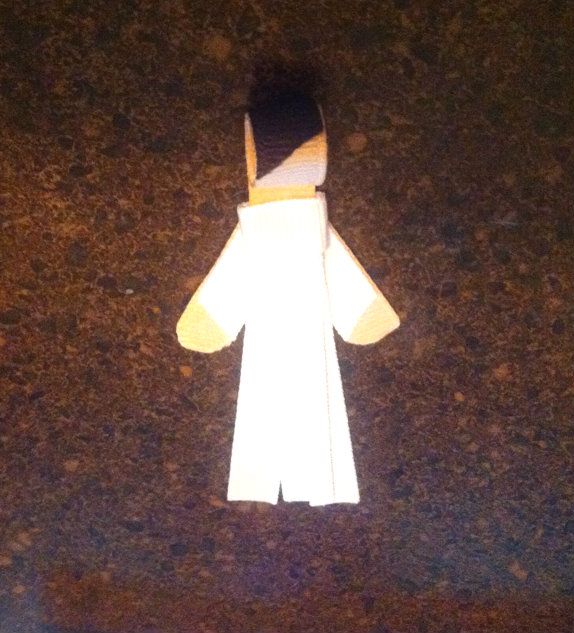
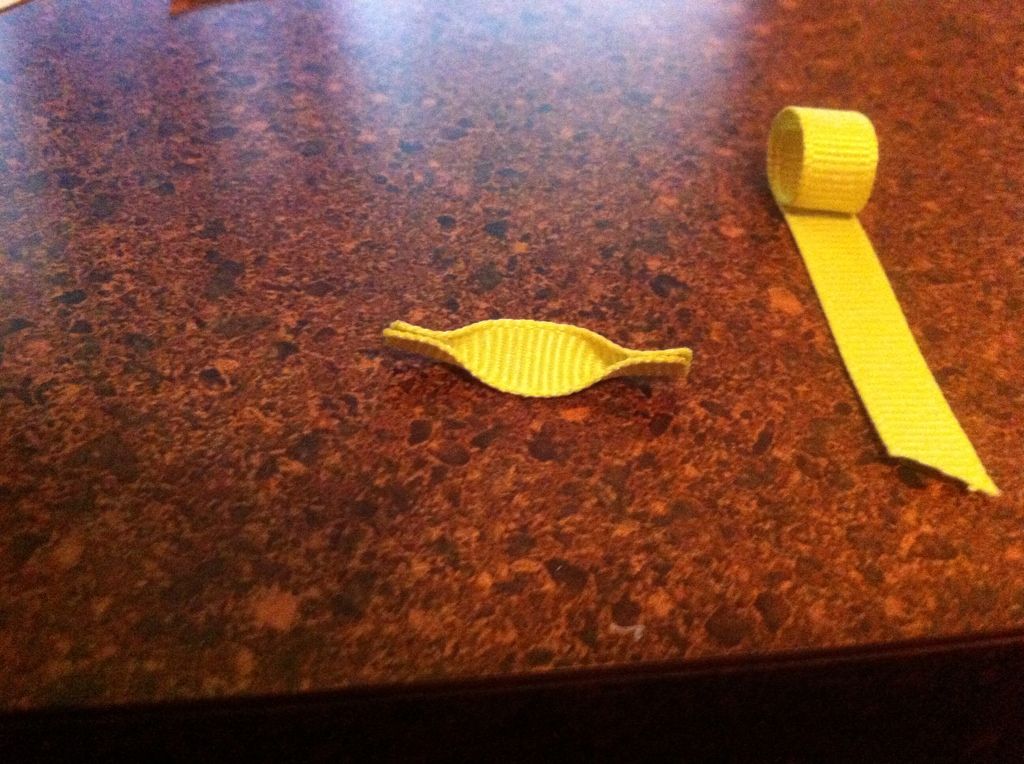
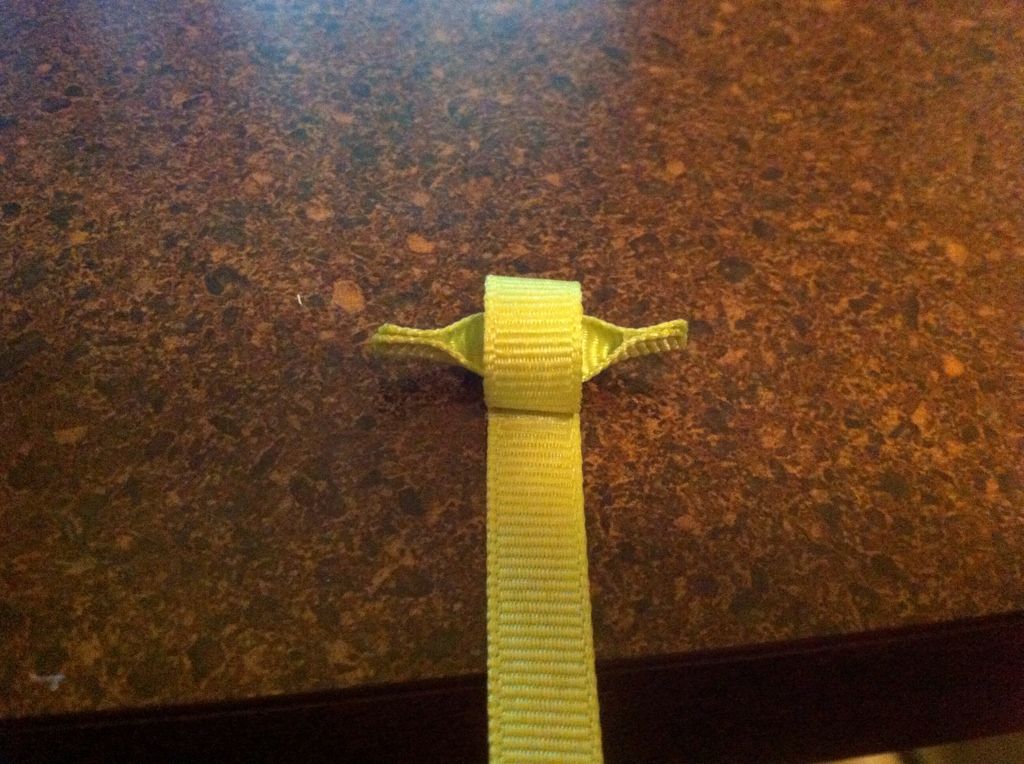
Step 1 - Take the 3.5 inch black 3/8 inch ribbon and roll the top into the head and glue.
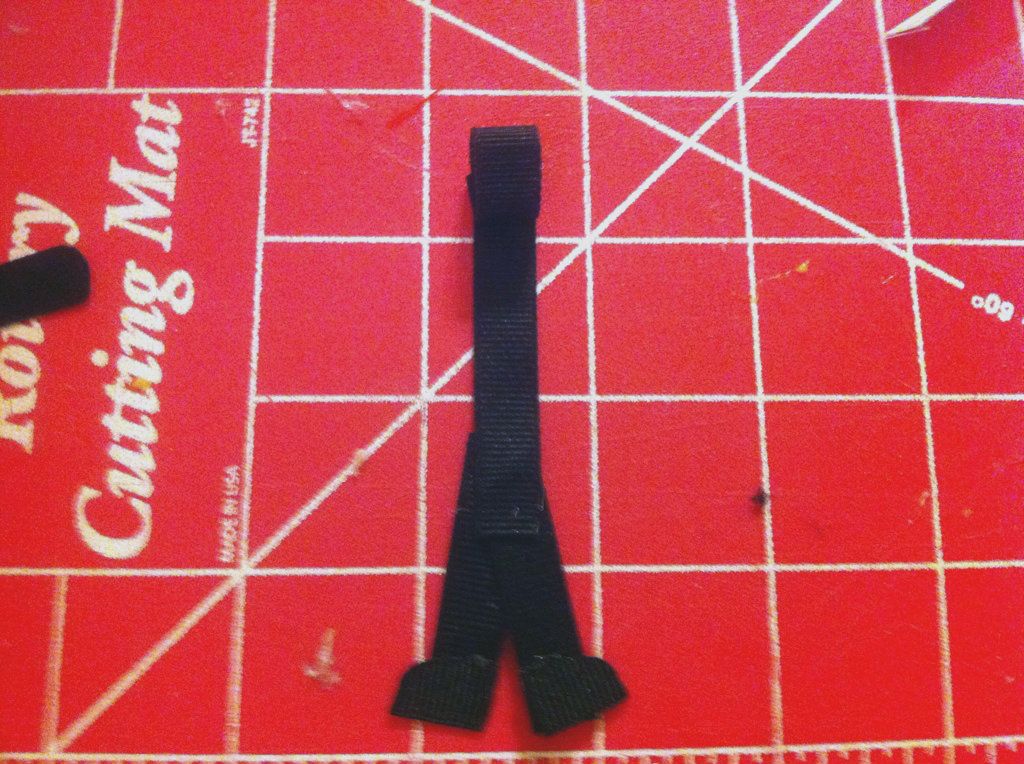
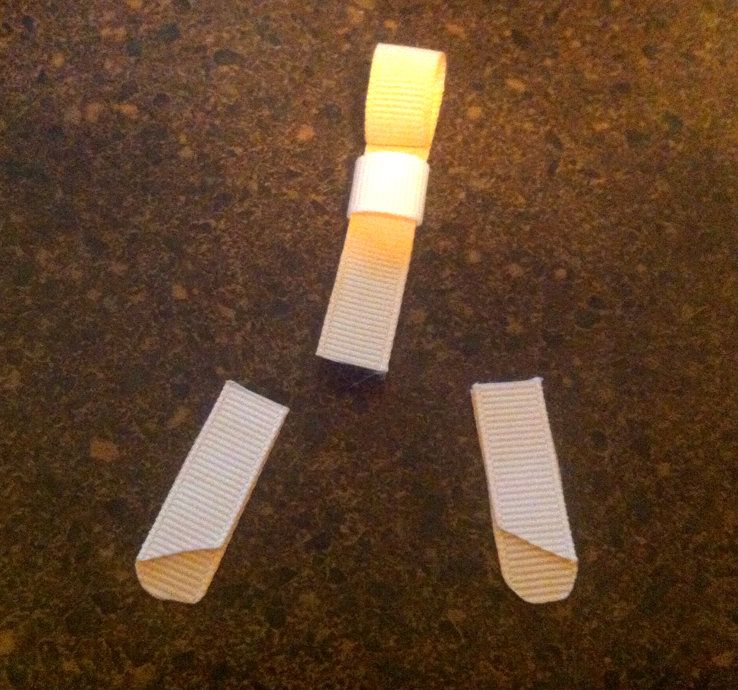
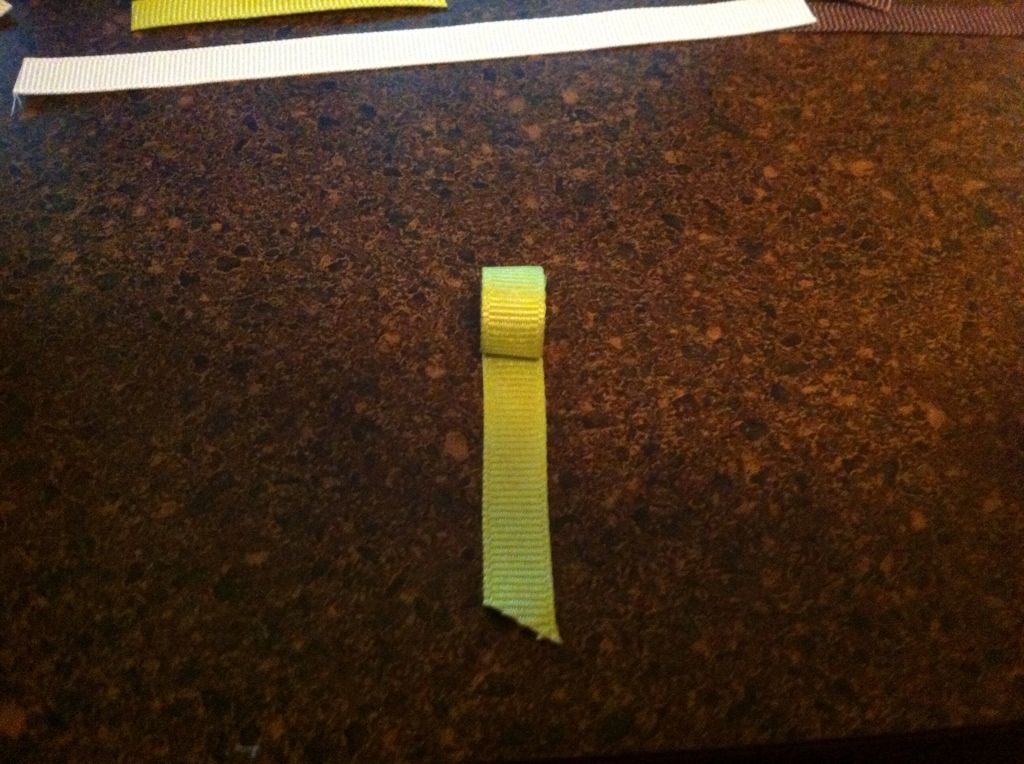
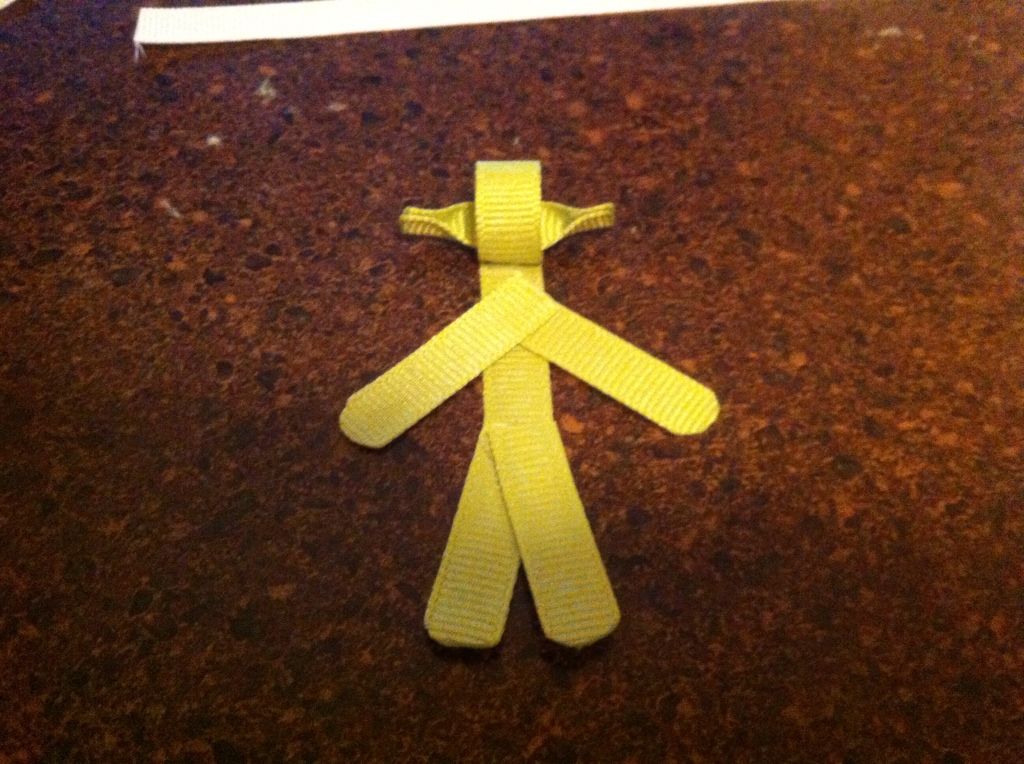
Step 2 - Create the feet and legs. First, round the edges and seal the two 3/8 inch ribbons that are 5/8 inch in length. Then glue them onto the end of two pieces of the 1.25 in pieces of 3/8 inch ribbon to form legs as shown.
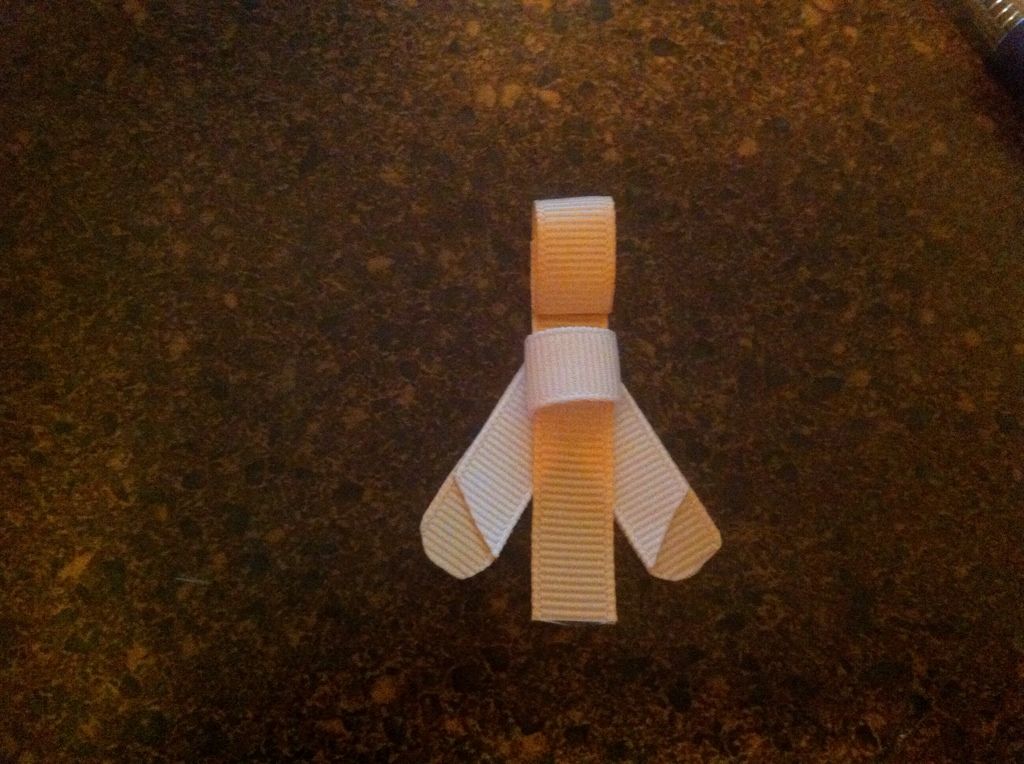
Step 3 - Glue the legs onto the body as shown.
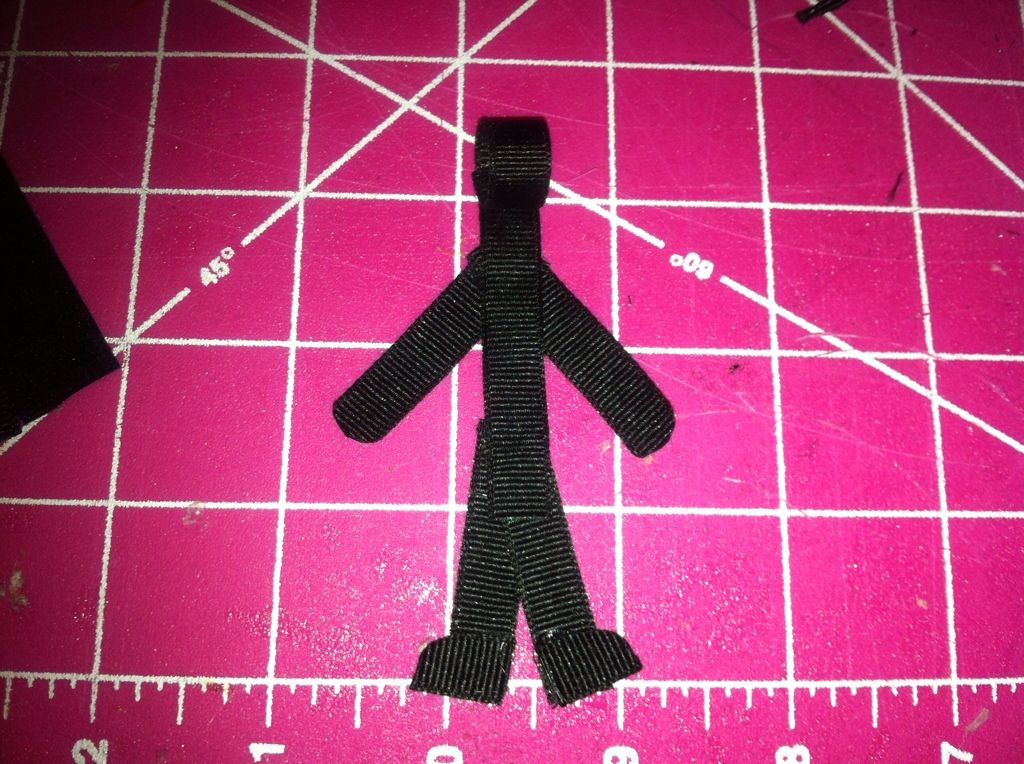
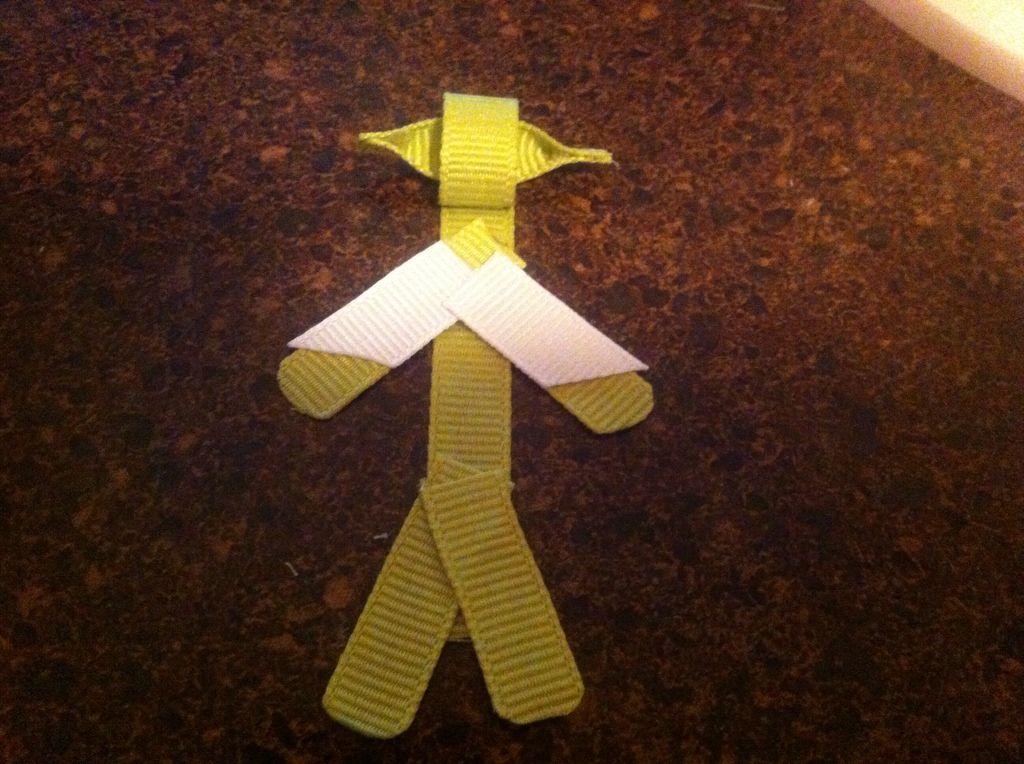
Step 4 - Take the other two pieces of 1.25 in back ribbons and round the edges of the arms and seal, then glue them to the body as shown.
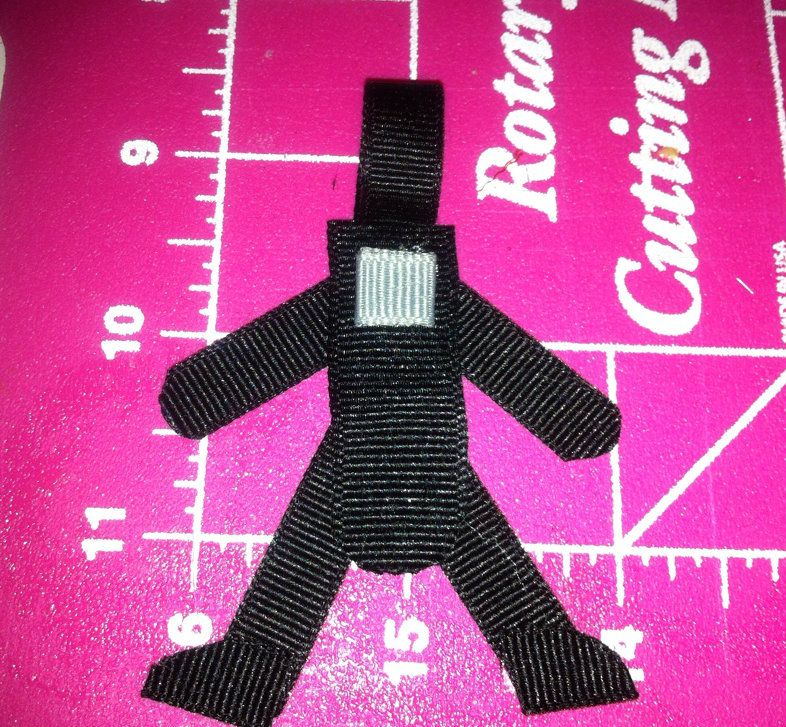
Step 5 - Take one of the 2 inch pieces of 5/8 in black ribbon, round the lower part of the body, then seal the edge.
Step 6 - Glue the body onto the top of the body as shown. I glue this up clear up to the head.
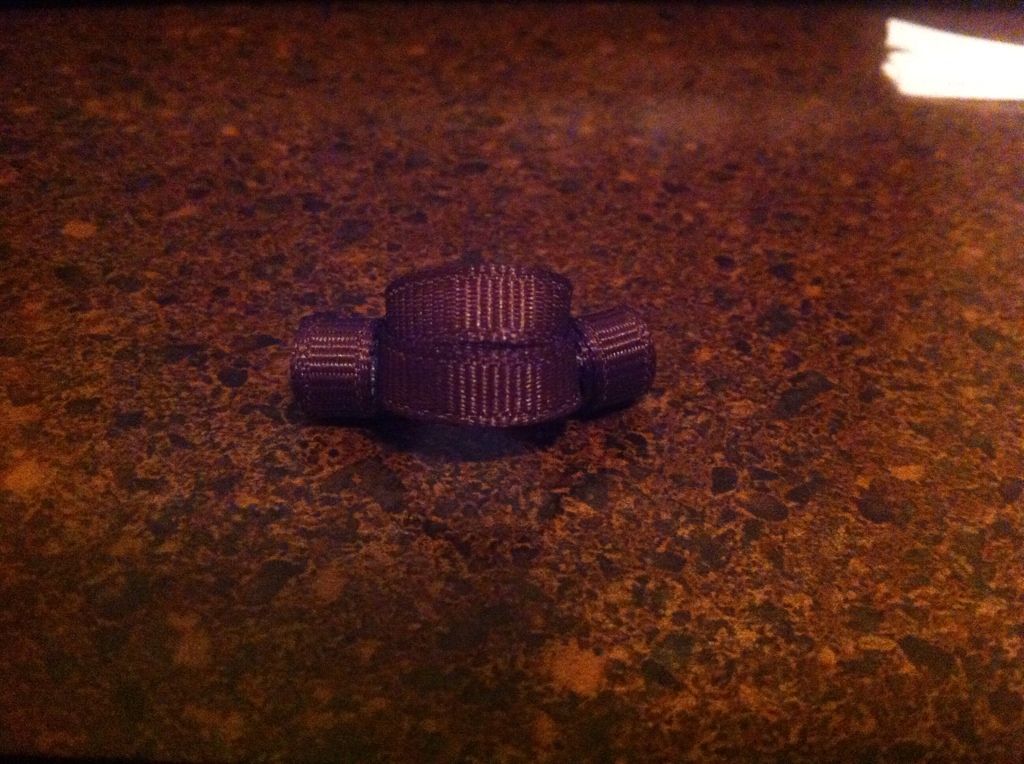
Step 7 - Take the 1 inch piece of gray ribbon, fold it over and glue it into a square. Glue it to the upper body of Darth Vader.
Step 8 - Take the 1.5 inch gray ribbon and glue it around Darth's waist for his belt.
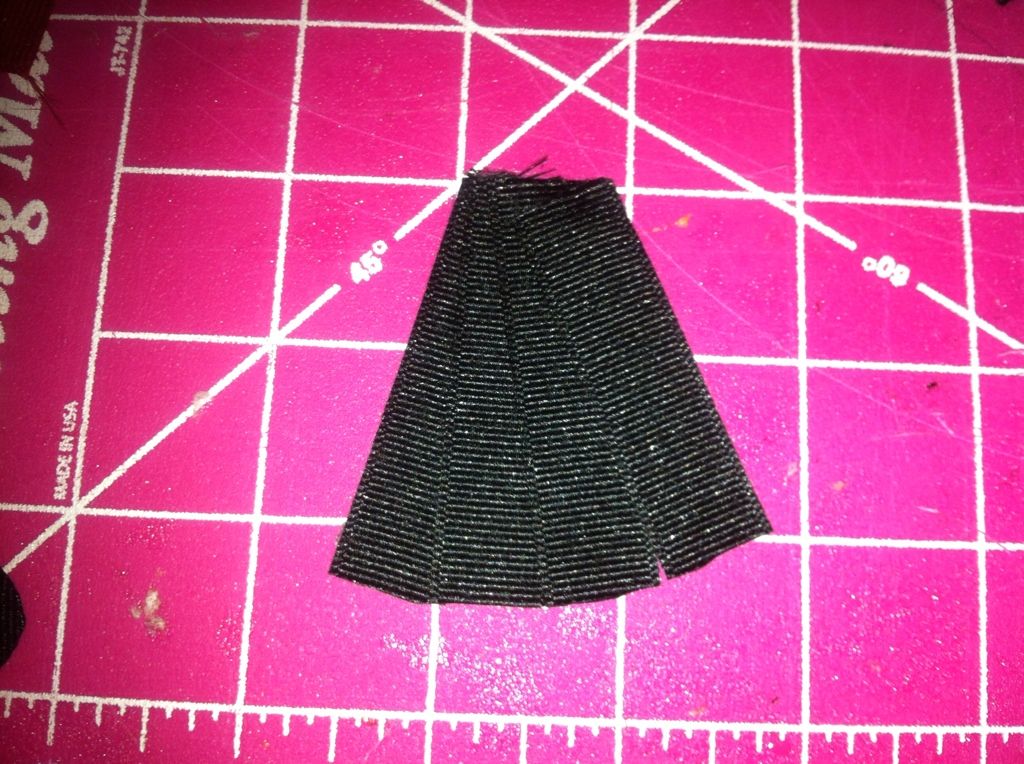
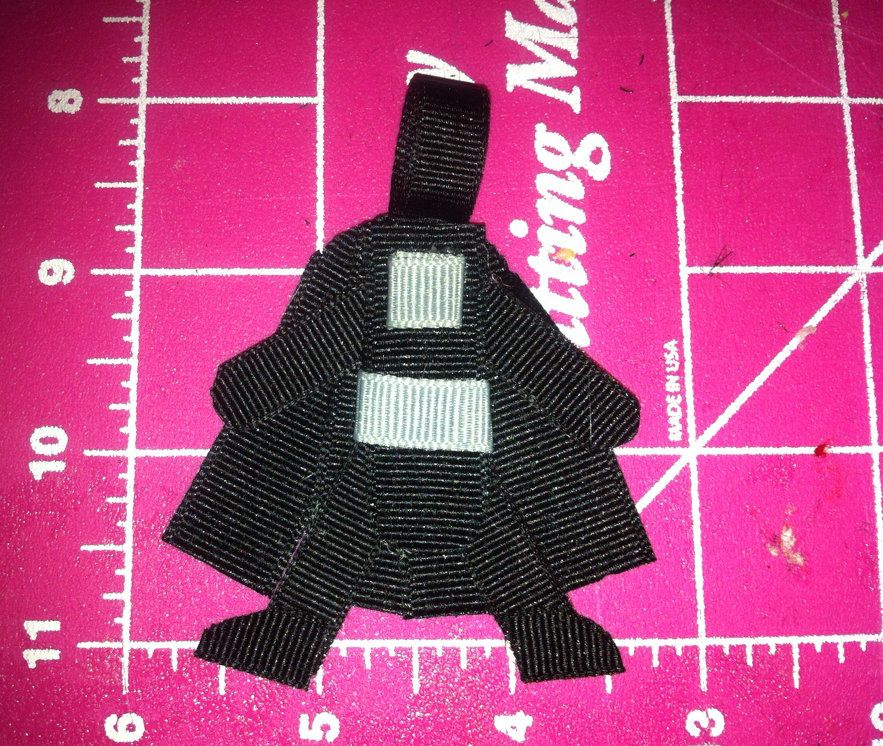
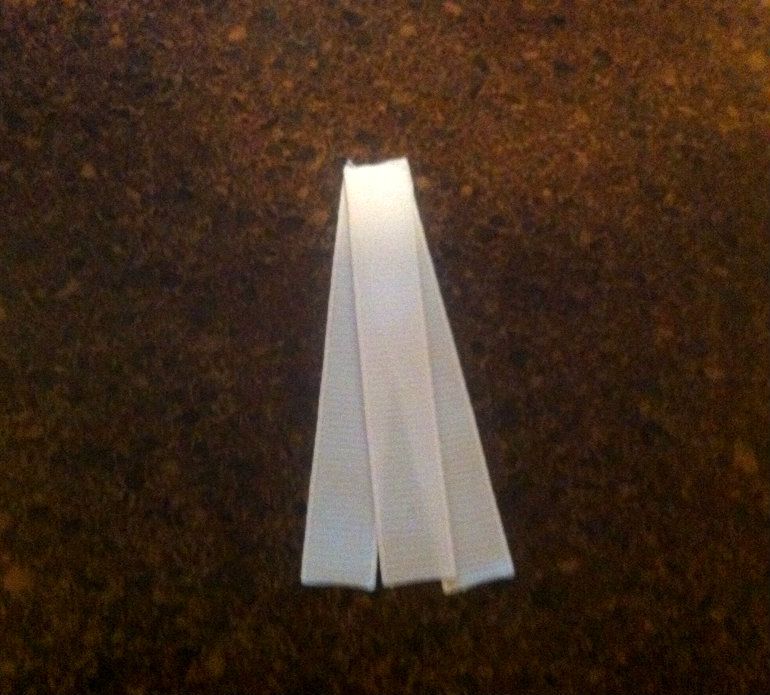
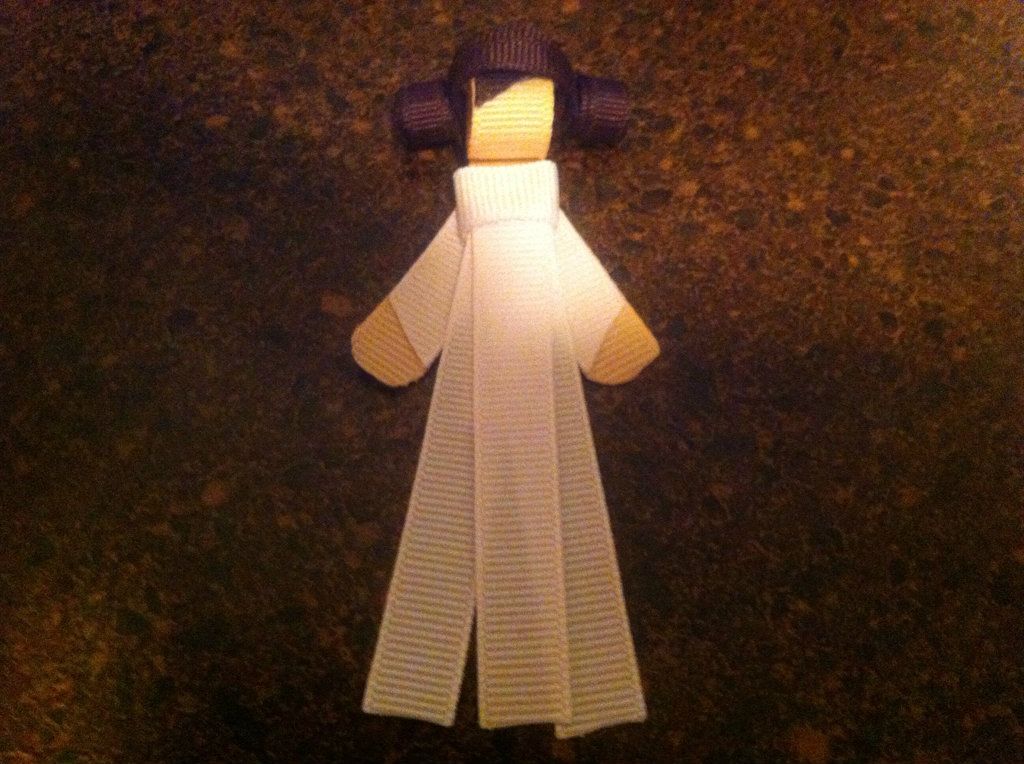
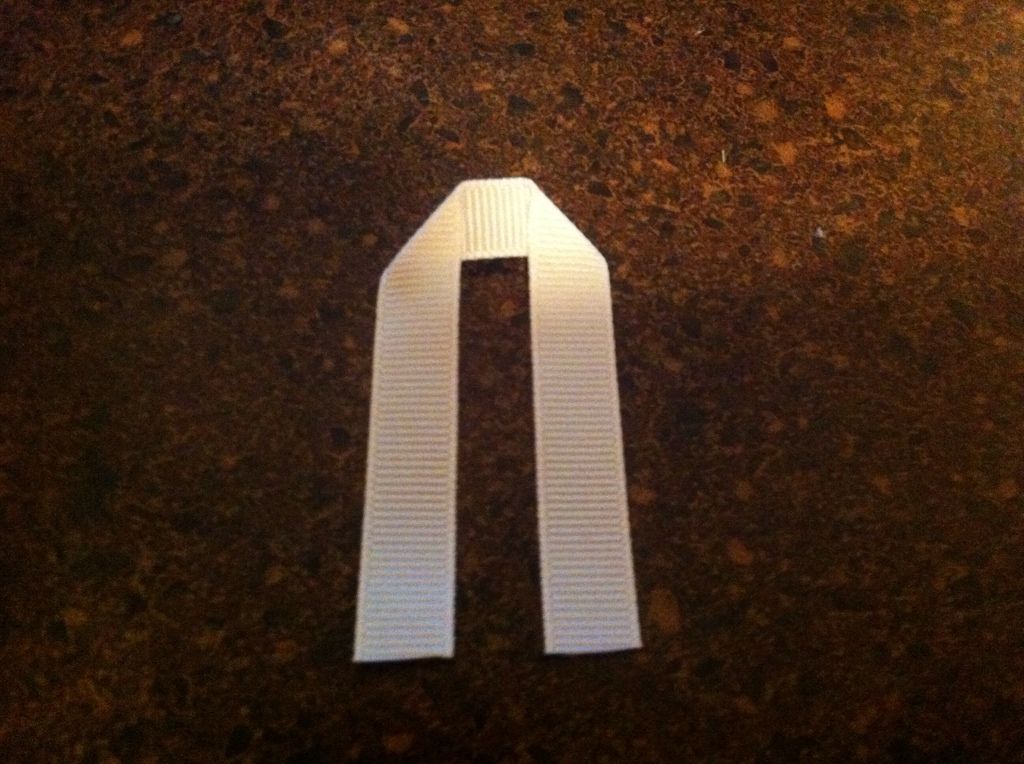
Step 9 - Take the four 5/8 inch width ribbons that are 2.5 inches long and glue together as shown to create the cape. Measure it to the back of Darth Vader so that it will be short enough to glue at his neck, but also show his feet. Then, round the edges and seal at the bottom as shown.
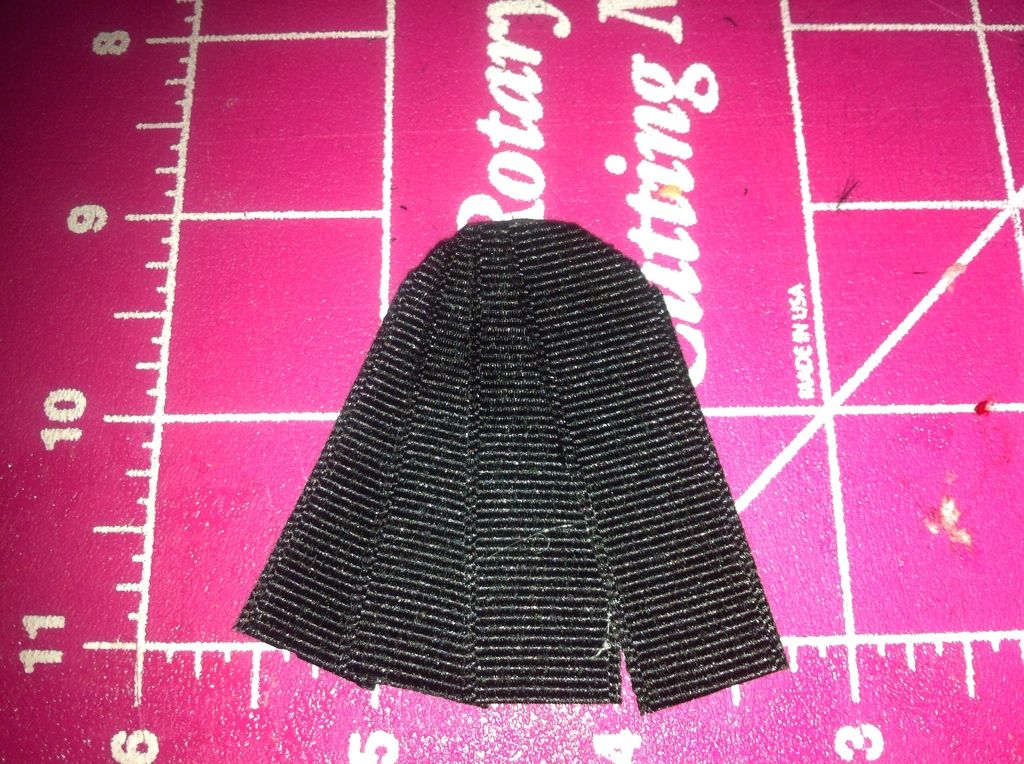
Step 10 - Round and seal the top of the cape as shown.
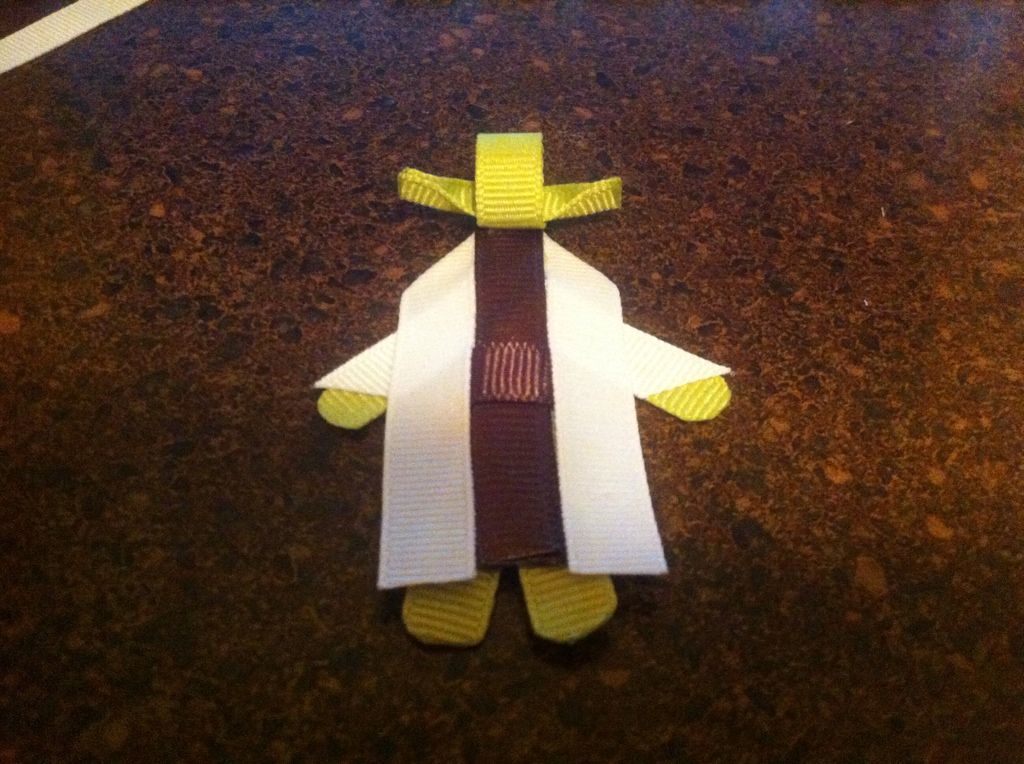
Step 11 - Attach the cape at the center of Darth's neck.
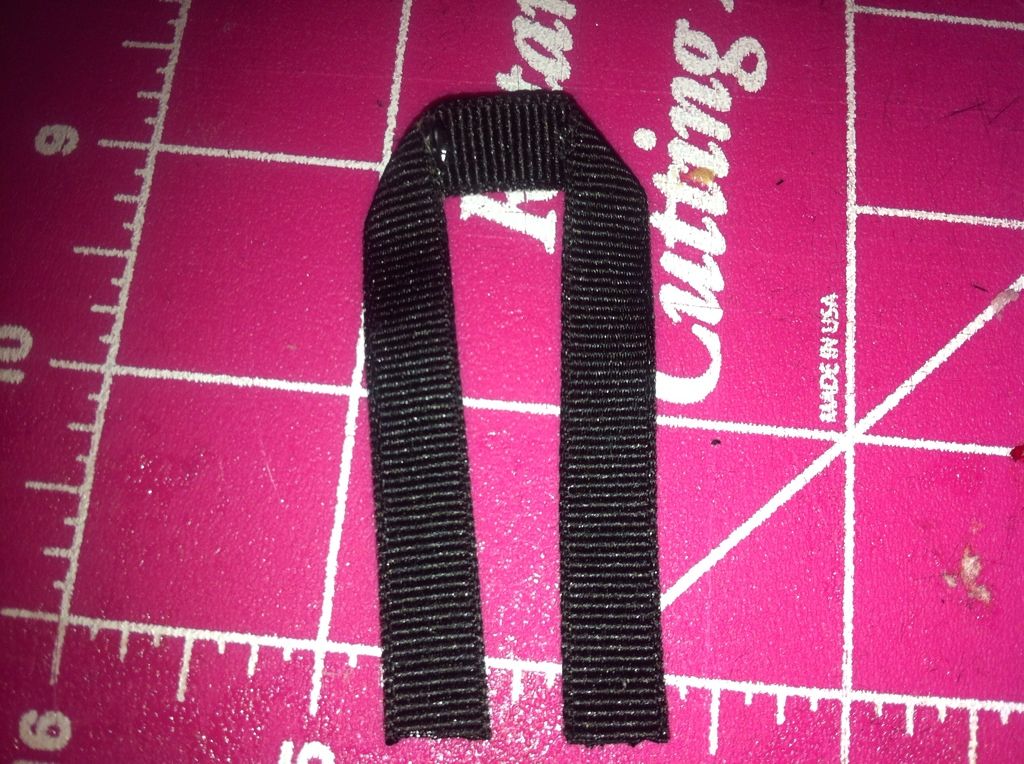
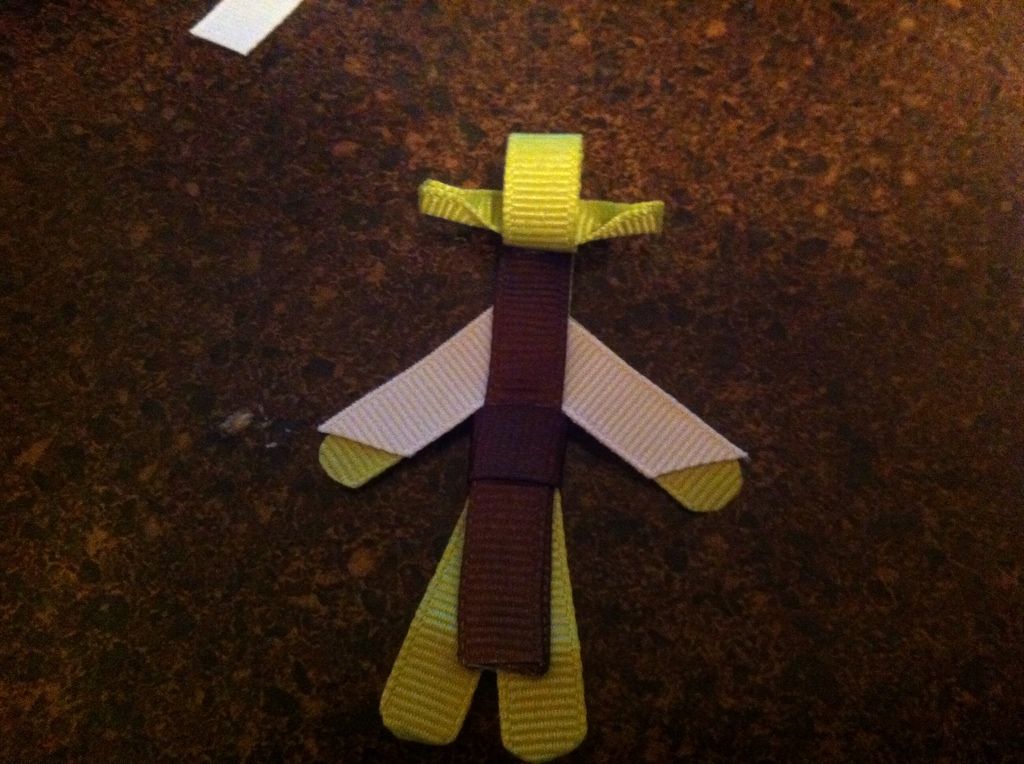
Step 12 - Create the front of Darth Vader's cape with the 5.5 inch piece of 3/8 inch black ribbon. Fold over the middle on both sides and glue as shown in the picture, so that it will fit behind his head and be at the top of the cape.
Step 13 - Glue the top middle of the ribbon to the back of Darth's head and bring the long pieces down in front. Glue them at various points along the arms and legs to keep in place. Cut the ribbons to the length of the back cape and seal the edges.
Step 14 -
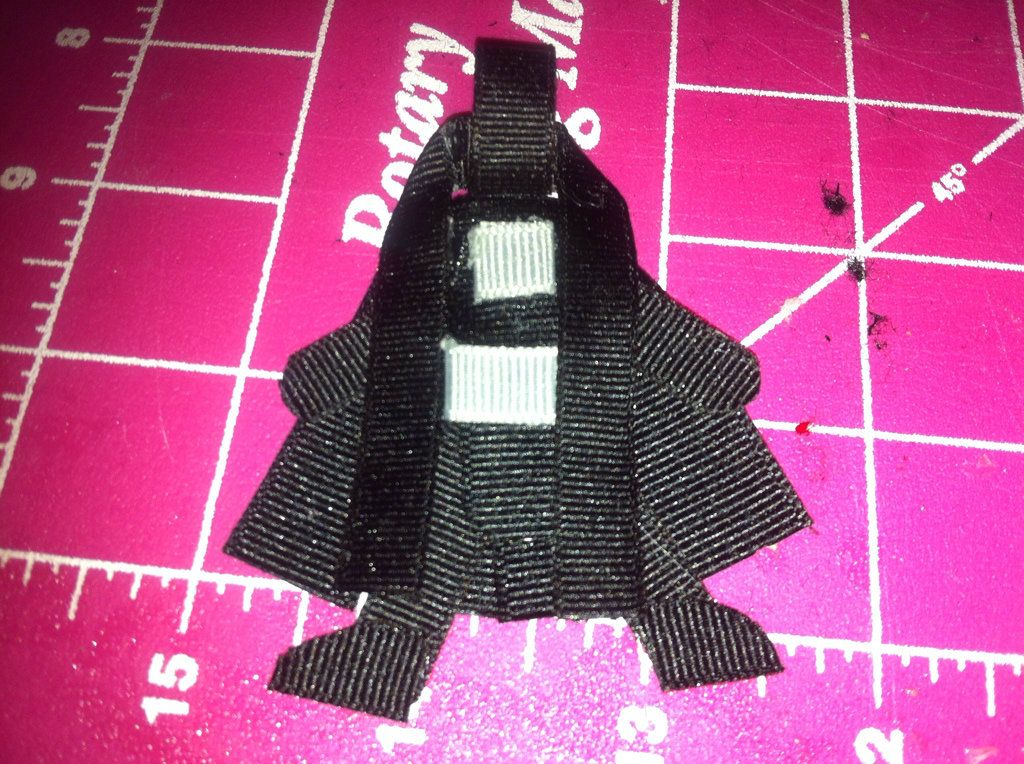
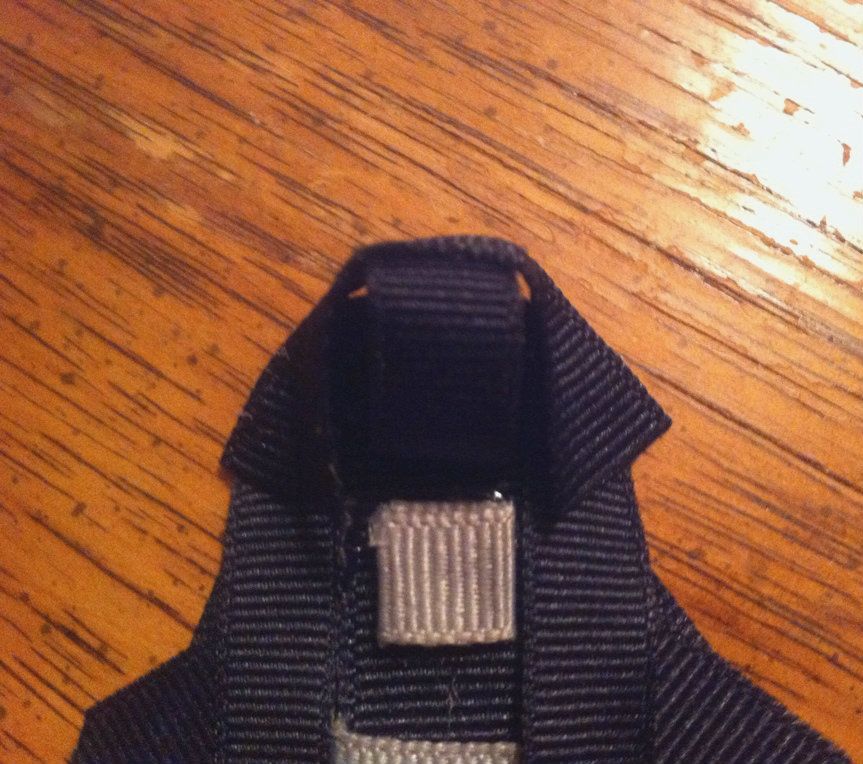
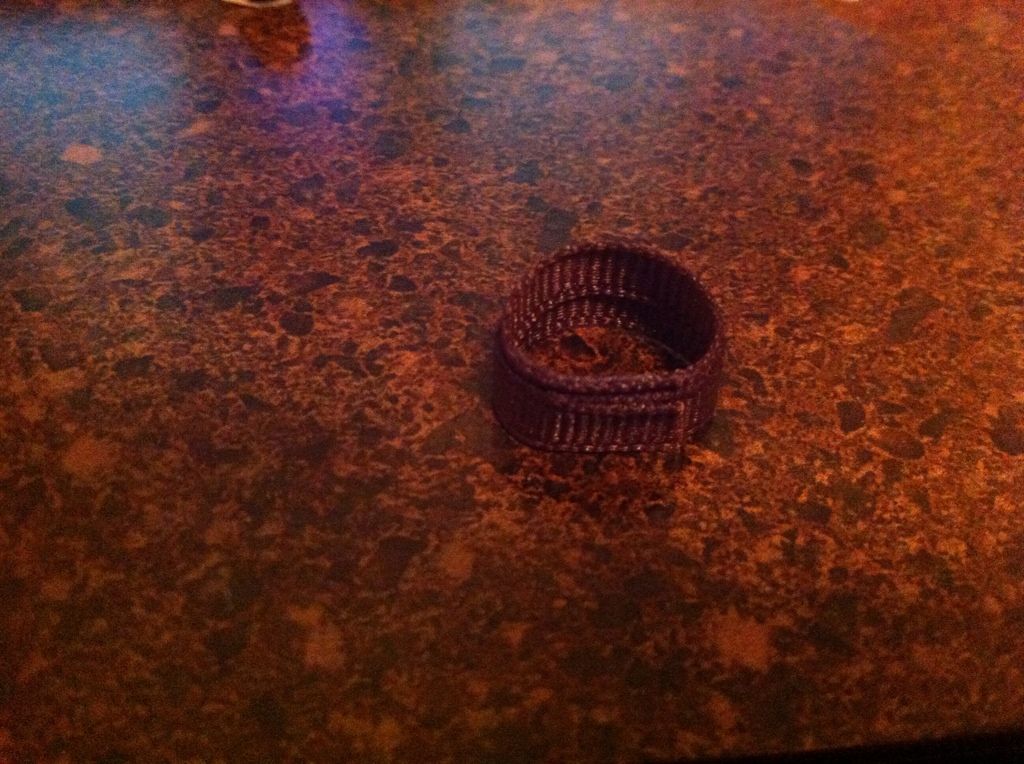
The tricky part. Take the second 2 inch piece of 5/8 inch ribbon and measure the helmet ribbon around his head and make sure it will be just long enough to right past his head before you cut it and seal it. Fold in half to mark the middle, then glue the middle to the top of his head (just slightly forward). Apply glue to the edge of the rounded part of the cape at the neck on one side, just the forward facing edge. Then, glue the side of the back of the helmet ribbon to that part. Do this for both sides. Leave the front of the ribbon unglued. It gives him a "king tut" look, but it also gives it that look of the Darth Vader helmet.
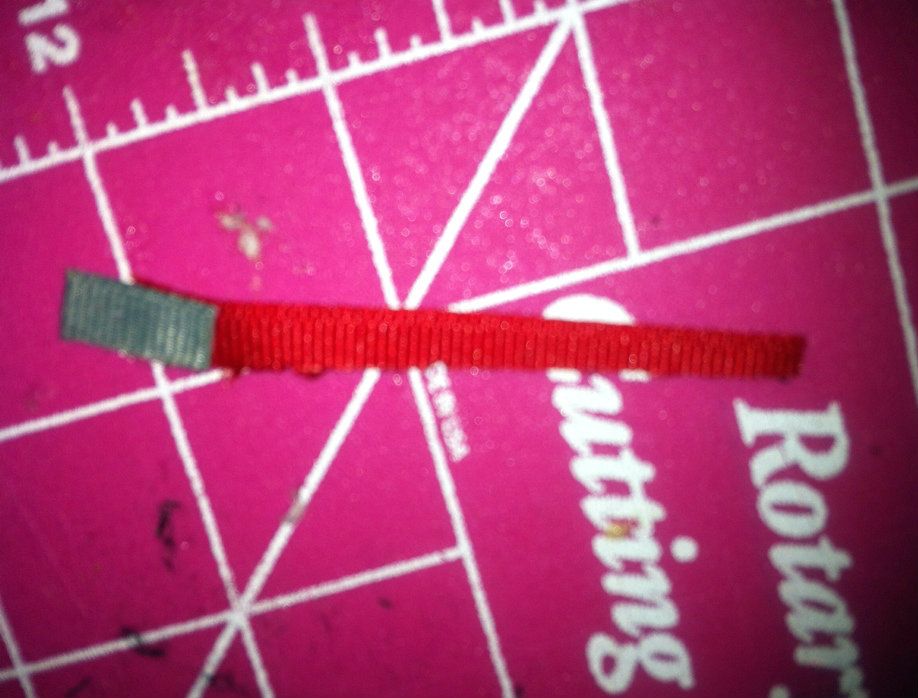
Step 15 - Make the light saber. Cut the edge off along the length of the .75 inch gray ribbon. Seal this edge. Cut the red ribbon along it's length into the shape of a light saber. I start out the width of the gray part and cut it down to a rounded point. Seal all the edges. Glue the red ribbon behind the gray.
Step 16 -- Glue the light saber to the hand and along the body. And you're finished!
Attach to a clip or headband.
And this completes the Star Wars Trilogy ribbon sculpture. I will have a new one for another popular trilogy coming soon. Thanks!