
 Well, believe it or not, I did make time for some blogging. While making some things for my new booth space, I decided to whip up a 3 part tutorial on some of my favorite "nerd girl" ribbon sculptures. This is part 1. There are 2 more parts coming this week from the Star Wars theme. And no, even though my children have begged, one of them is not going to be Jabba the Hut.
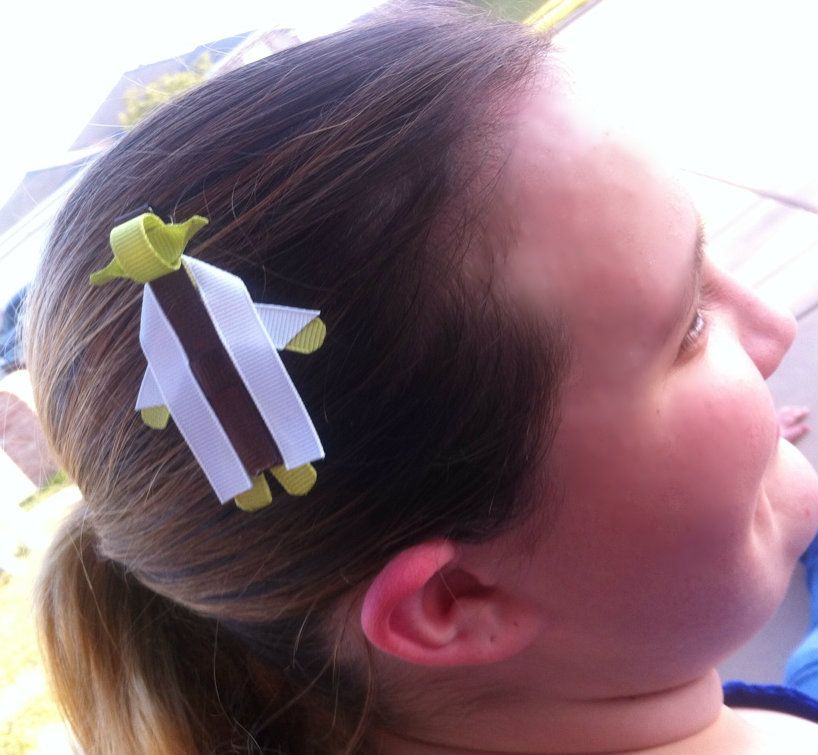
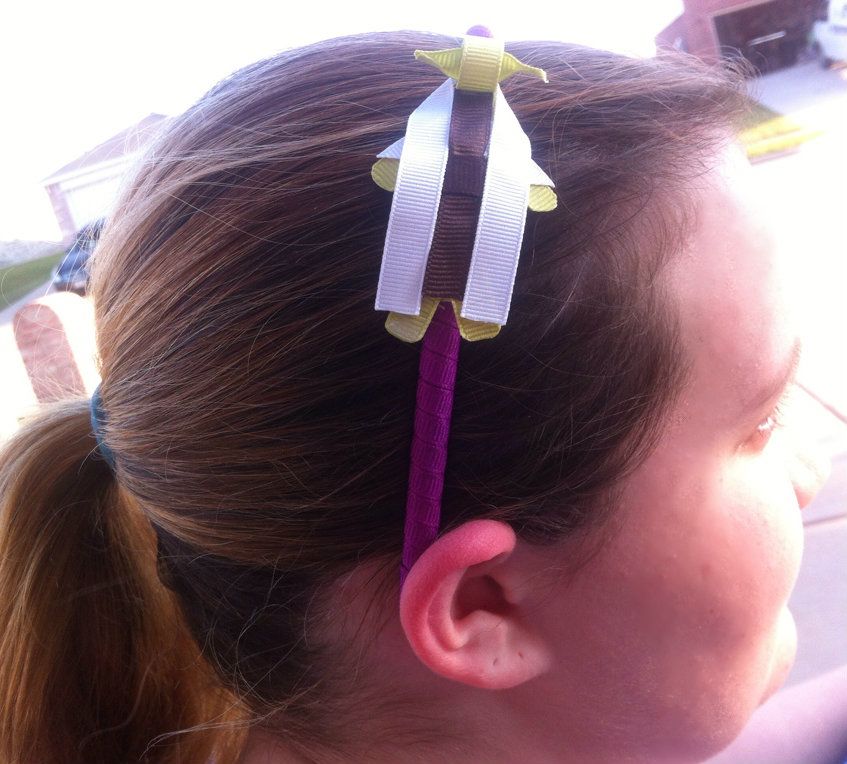
 This tutorial is to make a Yoda ribbon sculpture. I have it pictured both on a hair clip and on a headband, and both look adorable.
I've seen tutorials that tell you to use that fray spray, but I don't like it. I prefer to seal my ribbon edges with FIRE! I usually just light a candle and run my edges close to it to seal them. I'm not good with holding a lighter. I plan to get a wood burning tool very soon to try that method.
Yoda Ribbon Sculpture Hair Clip / Headband Tutorial
Materials:
Hot glue gun or fillet tape
Scissors
Lighter or woodburning tool to seal edges
Ribbons:
Light green (almost a pistachio color):
1 piece 3.5 in, 1 piece 1.25 in, 4 pieces 1.1 in/ea
Dark Brown:
1 piece 2.25 in, 1 piece 1.5 in
White:
1 piece 5 in, 2 pieces 1 in/ea
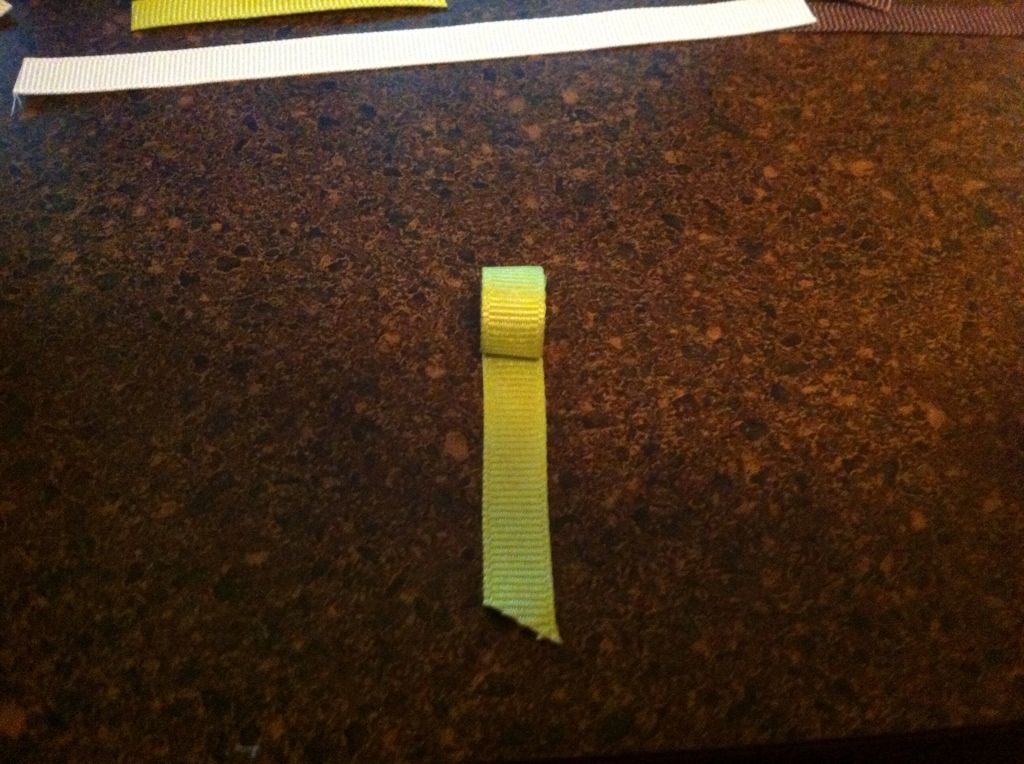
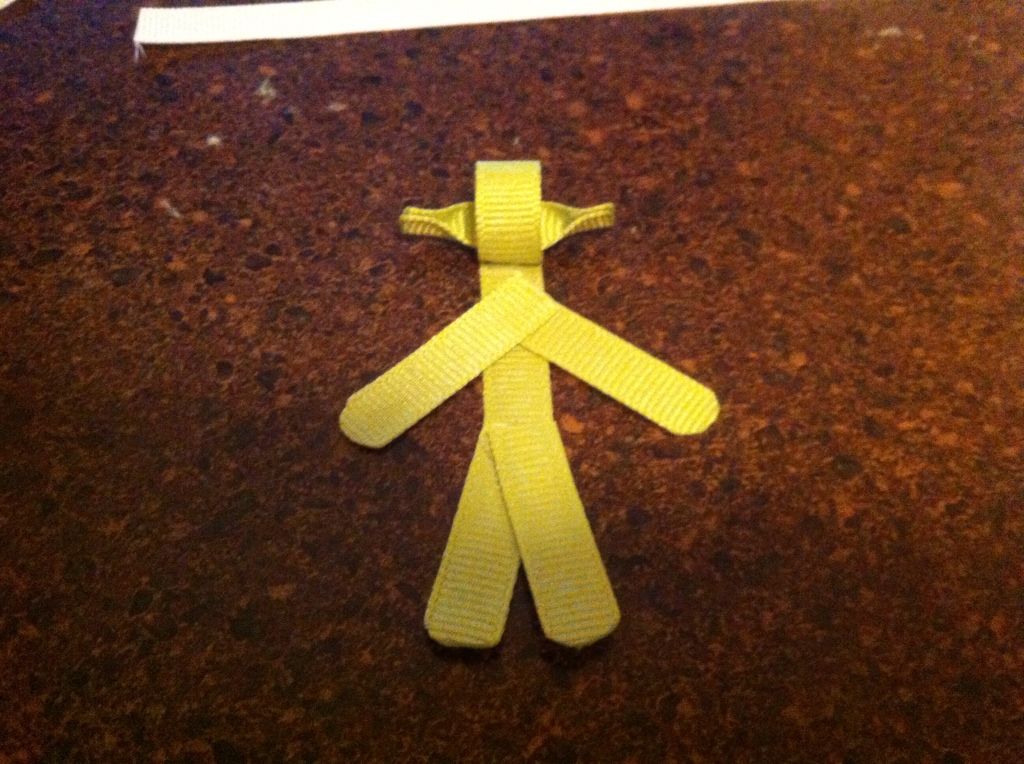
1. Take 3.5 inch green piece and roll top into head and secure with hot glue.
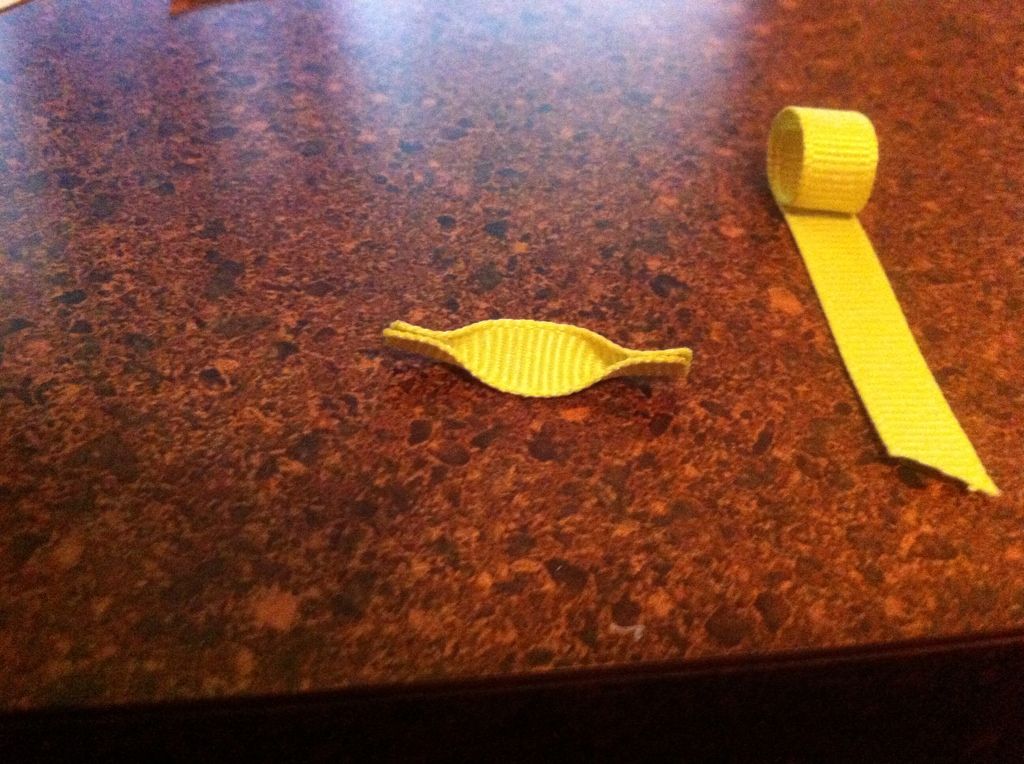
2. Take the 1.5 inch green piece, heat seal the ends, and create the ears. Glue each end down as shown.
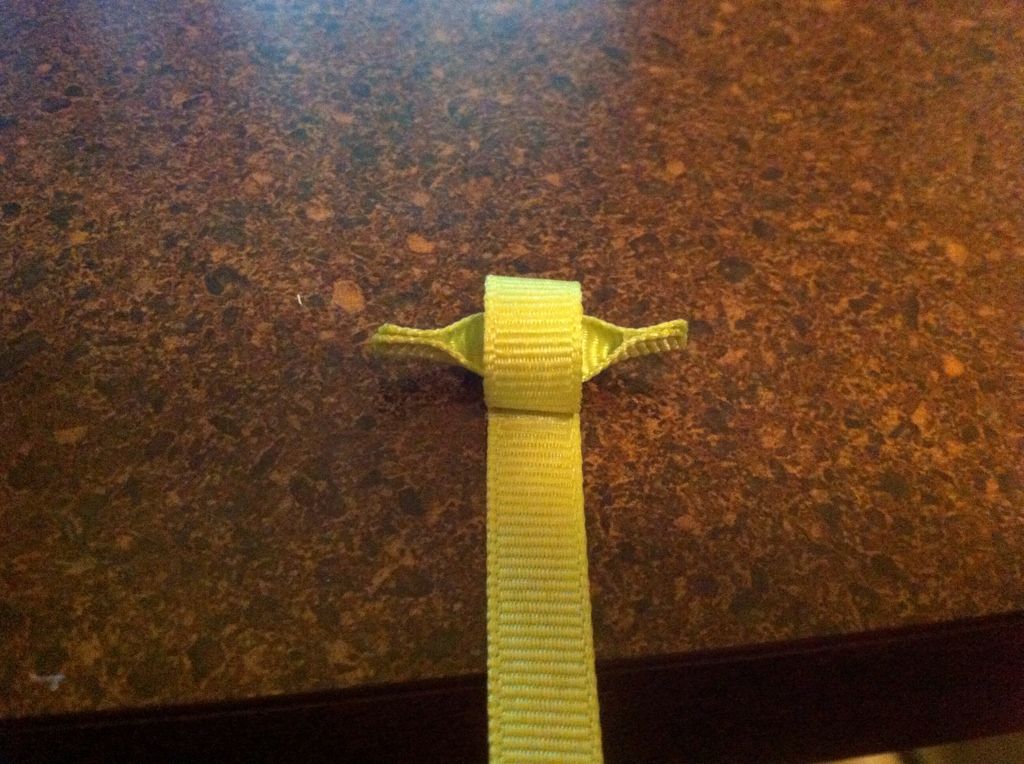
3. Insert ears into the head loop and glue to the inside back of the head loop.
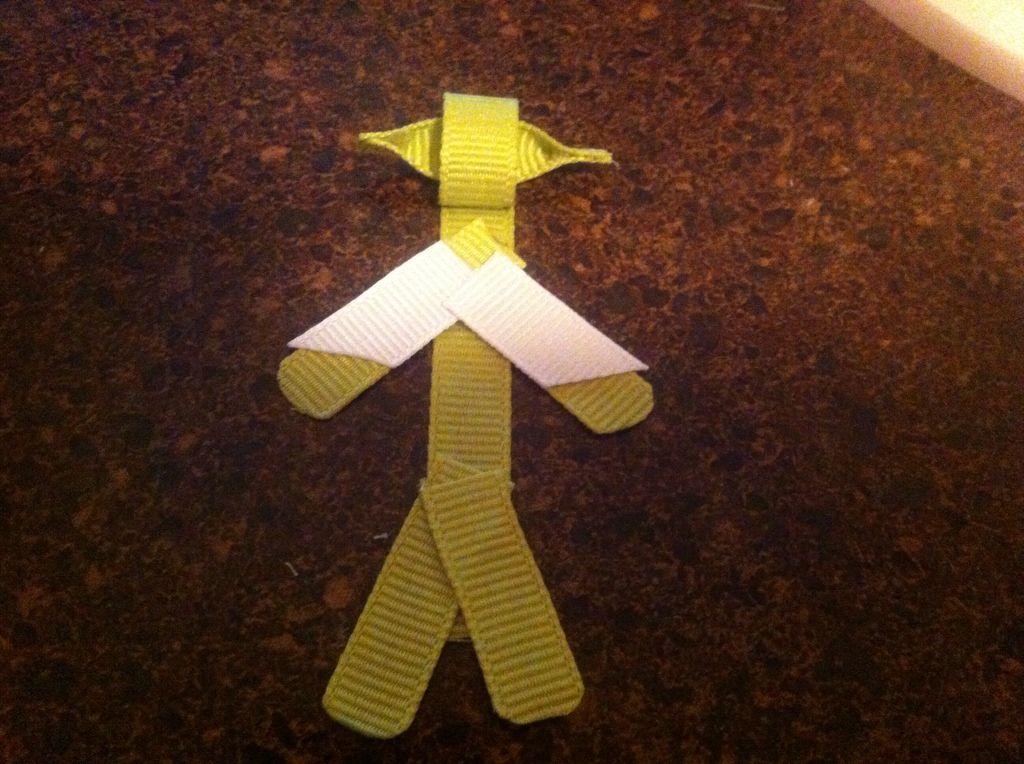
5. Take the two 1 inch white pieces and cut one end at a diagonal. Heal seal those edges and glue to the arms for sleeves.
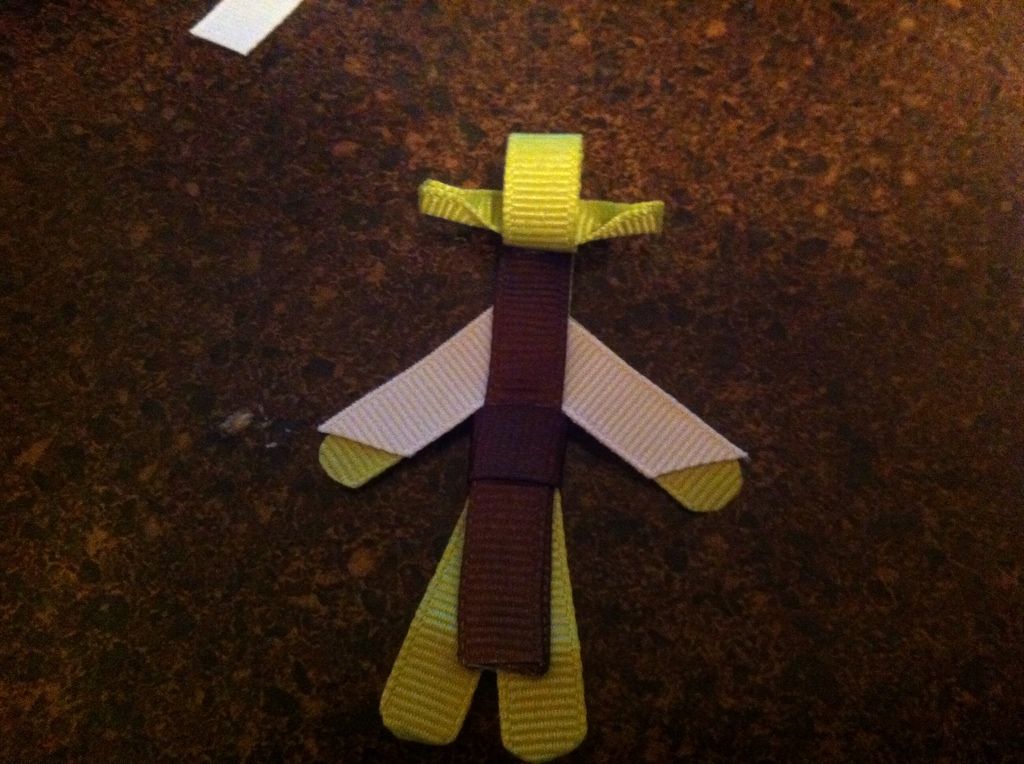
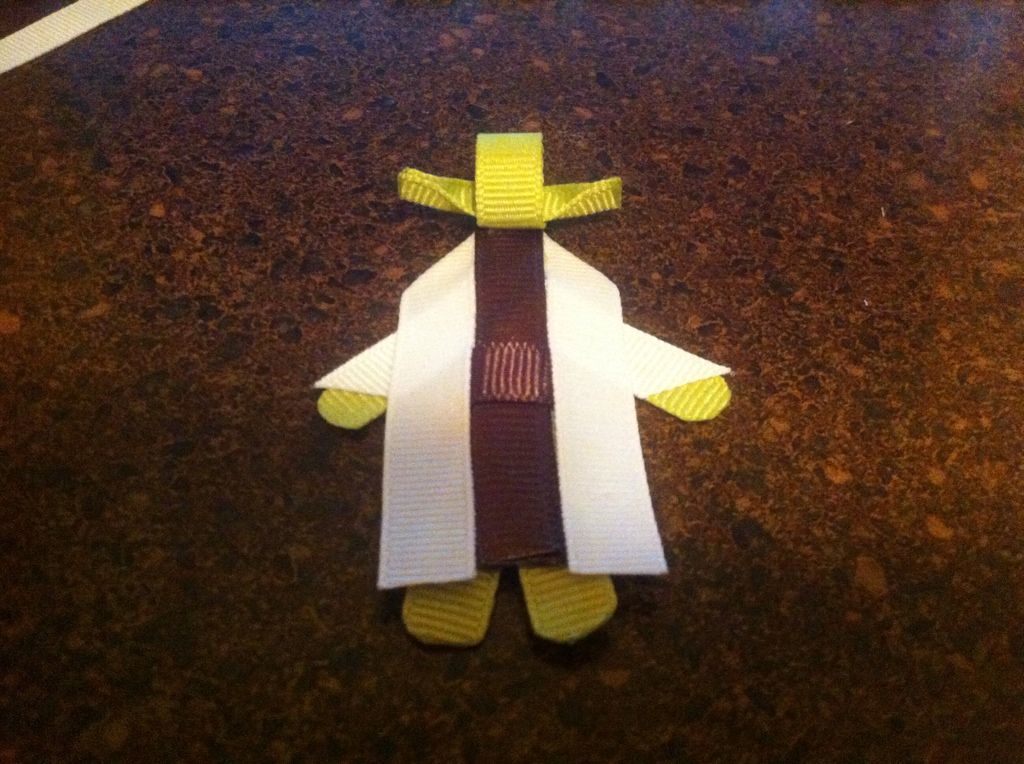
6. Take the 2.25 inch brown piece, heat seal the edges, and glue down the length of the body. I like to roll the head piece up a tiny bit and insert it right under it. If it's too long at the legs, cut it so the legs will shown, like this example. Take the 1.5 inch brown piece and glue it wrapped around to create a waist.
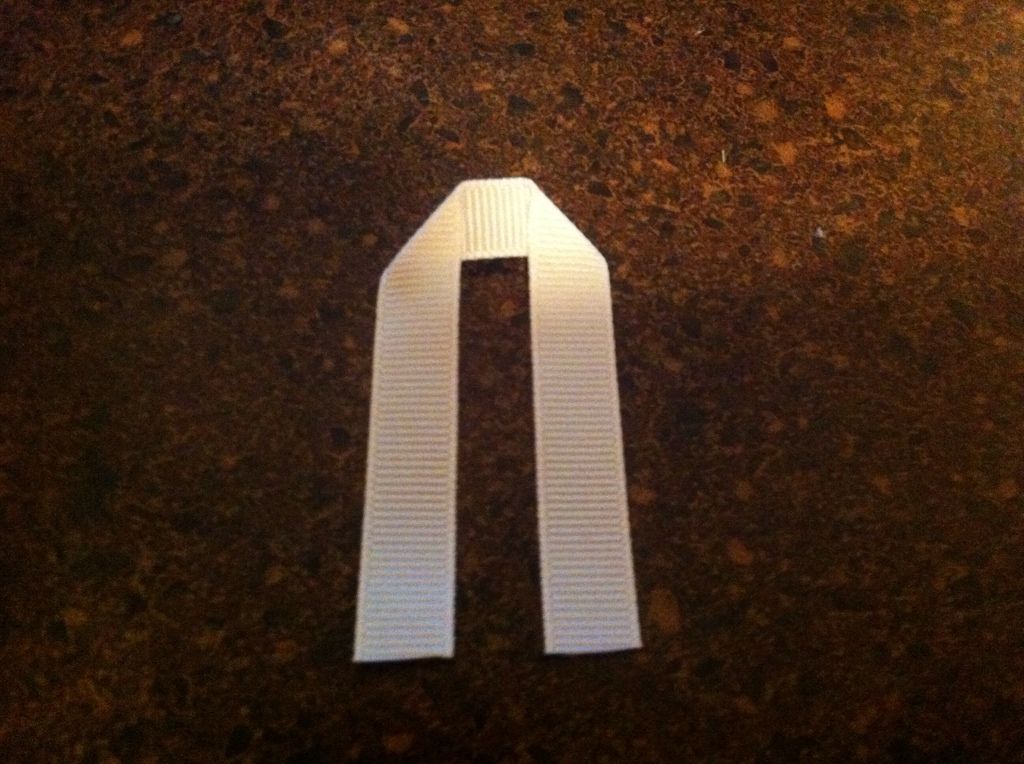
7. Create the robe. Take the 5 inch long white ribbon and find the middle of it. Glue the down the sides as shown in the picture. Leave an opening to go around the "neck" Yoda that is 3/8 inch wide. I just eyeball it and try it on Yoda before I glue it down.
8. Heat seal the edges of the robe, then wrap it around Yoda's neck, glue it down at the arms, and at the edges of the legs that are next to the brown ribbon. Then you are done with Yoda.
Attach to a ribbon covered alligator clip or a ribbon wrapped headband with fillet tape or hot glue.
**If you want to add a little embellishment, dip a toothpick 1/3rd in black paint and 2/3rd in green paint. Allow to dry, then hot glue into his hand for a light saber. When I write up the PDF version of this tutorial, I will include pictures of this embellishment as well.
Enjoy!


1 comment:
Greetings,
My name is Arvind Jay Dixit, CEO and Founder, of Bubblews.com. We are an innovative social blogging network we created where the bloggers are compensated for their thoughts in the form of being paid out per view, comment, like/dislike and social media share for every post they write. I am getting in contact with you to extend an invitation to join our community. It is 100% free to use and is very user friendly. I would love to answer any questions you may have, and be able to set up a time to speak with you over the phone about it. Bubblews.com is a movement, our community is tired of the fact that many corporate social networking sites profit off of users’ interests (private data) and do not compensate back. Bubblews.com is putting an end to that.
More information can be found:
www.Bubblews.com/about
www.Bubblews.com/account/create
I look forward to your response.
Post a Comment