Showing posts with label dough. Show all posts

Sunday, February 03, 2013

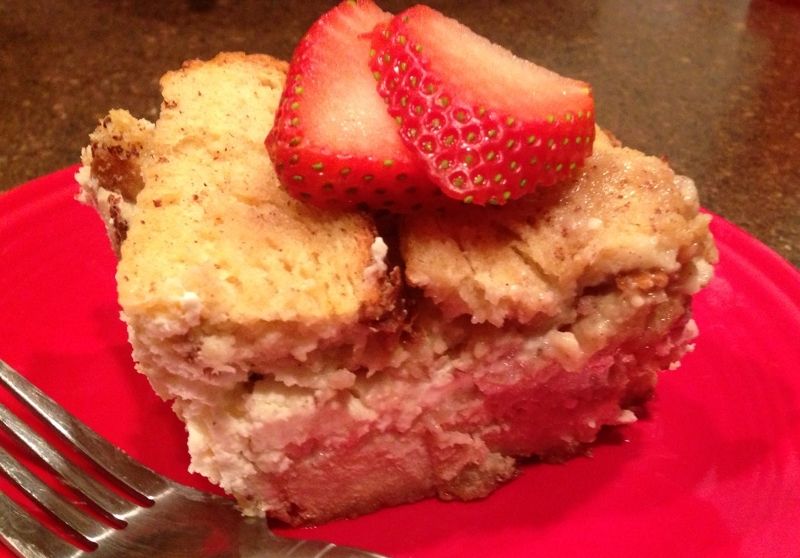
French Toast Casserole with Strawberries and Cream Cheese

The flu has hit our house, so I've been up to my eyeballs in taking care of everyone.  I have 3 to 4 tutorials all about 75% ready for you guys. I think everyone is on the mend (crossing fingers!) so that I can get back to posting some new tutes very soon in the next week or so.

Wow oh wow oh wow! I made THE best breakfast last night.  It was so delicious this morning I had to make myself leave the table.  I've always heard people raving about the overnight french toast casseroles, but I've never had one until I experimented with my own version featuring apricots and cream cheese a few weeks ago.  It wasn't my favorite because the bottom was too done, so I tweaked my recipe a bit and tried again last night.  Oh my goodness was it delicious!

Unfortunately, we've had a house of sickies this week.  I have one with the flu (who had a flu shot, btw) and the littlest one had a UTI (aren't those fun while potty training?).  And, with all that fun, we've been staying home the past few days.  So, last night I whipped up a french toast casserole from scratch to have this morning.  I had just ran to the store yesterday, so I had fresh strawberries and cream cheese to add to it.

 photo 6ca29301-4828-4fd5-bf34-84eadef7b2e8_zps3f798135.jpg

French Toast Casserole with Strawberries & Cream Cheese

Ingredients: 
1 stick of butter, softened
1/4 cup brown sugar

8 eggs
3 1/2 cups milk or 1 1/2 cups half&half and 2 cup of milk
1 1/2  tsp cinnamon
2 tsp vanilla
3-4 tbs maple syrup
1 pkg of Pepperidge Farm Sourdough bread cut into large cubes (about 12 pieces of bread)

16 oz (2 pkgs) of softened cream cheese
1 pint or about 2 cups of fruit such as sliced strawberries mixed with 1 tbs of sugar

Topping:
1/4 cup brown sugar

 photo 1B0BC9F9-1EB5-434B-9E05-CF39DD59471A-471-0000004644DCCFB9_zps0e09f4fc.jpg


First, slice up your strawberries and add about 1-2 tbs of sugar. Mix well, then put in the fridge for a couple hours.  This will pull the water out of the strawberries and create a delicious syrupy-ness to it.  If you don't have time for that - no worries.

Take your softened butter and mix with 1/4 cup of brown sugar.  Then smear it all over the bottom of a 9 x 13 inch casserole dish.

Next, cube your bread.  I love sourdough bread, and I love how wonderfully thick and delicious this Pepperidge Farm bread is, but plain ol' sandwich bread will do in a pinch for this recipe too.  I cut mine into large cubes about 2 x 2 inches in size.  Place half the bread in the dish.

Take your cream cheese and microwave it for about 20-30 seconds.  This will turn it very smooth and a little runny and easy to smear on the bottom layer of bread.  Smear away!  Then, add your fruit.

Mix up the eggs, milk, cinnamon, maple syrup and vanilla.  Pour half the mixture onto the bottom half of the casserole.  Next, add the rest of the bread.  Pour the rest of the milk/egg mixture onto it.  Make sure you pour it so everything is evenly soaked. 

Take the 1/4 cup brown sugar and sprinkle it all around the top of the dish.

Cover with foil and put in the fridge til morning.  Or let it sit for at least an hour before baking. 

Remove from fridge.  I like to put mine on top of the oven as it warms up.  Preheat oven 375.  Bake for 45 minutes.  Then, remove the foil for the last 15 minutes or so.  Check to make sure it's not soupy in the middle.  A knife should come out clean when inserted in the middle.  Sometimes mine needs an extra 10 minutes.  It will still be a bit mushy when done because of the cream cheese.

Let it sit for about 5-10 minutes before serving.

This is also wonderful to make ahead and bake, and then serve it for breakfast on school days.

I made an earlier version with apricots and apricot preserves with the cream cheese.  It was delicious just needed something on the bottom of the pan to stop it from overcooking down there. That's why I added the butter and sugar -- which was PERFECT this time around.

However, if you'd like to use apricots, here is what I did:

I used about 1/2 cup of apricot preserves that I smeared on top of the cream cheese. Then I took a can of apricot halves, smashed them, and added those on top of the preserves.  The tanginess mixed with the cream cheese was so yummy!! I'm definitely going to make that version again.


Friday, January 18, 2013

Homemade Pizza & Key Lime Tartlets

It has not been my intention to turn this into a food blog.  However, there are two things I do every day -- cook/bake and read books.  I don't want to ignore my blog until I have a moment between 3 kids and a husband, all of who require my constant attention for some reason, for only when I sew and/or craft.  So, I hope it's not too annoying that I write a lot of posts about food and book reviews.  And now....onto another post about food and sort of a book review :D  


I've been on a mission to make pizza better than any of the pizza places around here.  We have two mom and pop places that make delicious NY style pizza, but I'm cheap.  When I make dough for 4 pizzas for pennies versus $25 for two pizzas, I would prefer to do it myself.  So, when I found this book, I was super excited.  It's called My Pizza and it's buy Jim Lahey. I found it in the new section at the library a couple days ago.  I sat down to check it out while my youngest was playing in the awesome playroom in the kid area.  They have a giant wooden playhouse complete with puppet theater at the back of it and a wooden grocery checkout FULL of food -- in the library!  Did your library ever have that when you were a kid?  Mine certainly didn't.  A playhouse!!  We love to go play there, especially on rainy and cold days.  One of the nice things is that it's not a "quiet" library.  It is so much better than any fast food restaurant play places.  

Ok, I got off topic.  I've been looking for a good pizza crust recipe, but it seems the ones I've tried just weren't very tasty, or I just didn't know how to cook them.  The basic dough recipe in this book came out wonderful.  I made it tonight.  Well, it actually takes 18 hours to make the dough as you are supposed to make it the night before.  I settled for early this morning after I dropped off the kids at school.  I made mine in about 12 hours.  Next time I will try the 18 hour version just to see if I'm missing something.  

I love this book!  It gives all kinds of wonderful tips for how to get the pizza stone super hot in an electric oven, how to get the oven super hot so it cooks pizza super fast, and how to squish canned tomatoes to make tomato sauce for the pizza.  I used the tomato squish method tonight and everyone loved it.  I even went the fancy route and bought some really nice mozzarella cheese that was still wet and squishy for our pizzas. My husband actually said it was better than takeout!  Woohoo!!

2C338773-9DC0-4FBC-8519-AE6438F85BAE-266-00000020544299A2-1_zps0c916b94 photo 2C338773-9DC0-4FBC-8519-AE6438F85BAE-266-00000020544299A2-1_zps0c916b94-1_zps5619a07a.jpg

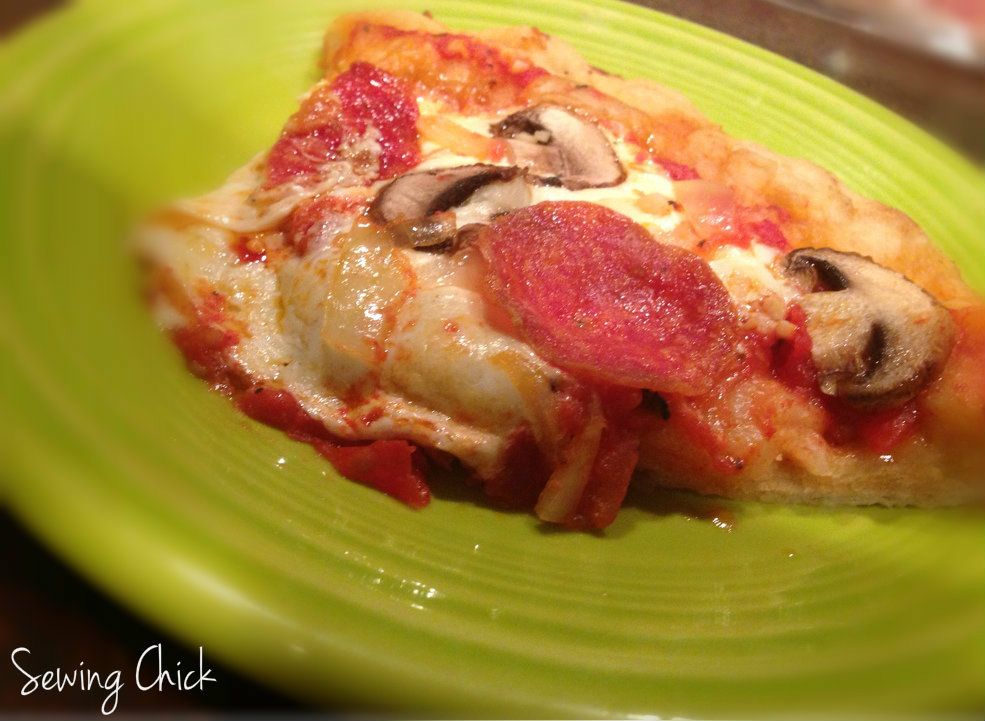
I made four pizzas out of the dough recipe in the book.  Two were plain squished tomato sauce, mozzarella cheese, and minced garlic.  I also brushed the crust with a garlic and olive oil combo.  The other two I had a mixture of my tomato sauce along with a spicy spaghetti sauce (hubby doesn't like plain tomato sauce), onion, fresh mushroom, mozzarella, and minced garlic along with the olive oil/garlic on the crust. (We are garlic-o-holics in this family. The more, the better.) I would have taken more pics of my pizzas, but unfortunately, they were inhaled before I remembered.  (Thankfully, I got smart with the tartlets and tooks pictures BEFORE I served them.)

This book is chock full of different pizza recipes much like gourmet or artisan style pizzas.  It does have basics like a marguerite style pizza, but it also goes into pizzas with bechamel sauce (white sauce) as well as other things, too.  And, I loved the pictures in this book. They are gorgeous and make you very very hungry.

From Yahoo Shine article about this very book and it's recipes: 

Jim Lahey's No-Knead Pizza Margherita

Makes four 12-inch pizzas
Making the Dough:

500 grams (17 1/2 ounces or about 3 3/4 unsifted cups) all-purpose flour, plus more for shaping the dough
1 gram (1/4 teaspoon) active dry yeast
16 grams (2 teaspoons) fine sea salt
350 grams (11/2 cups) water

1. In a medium bowl, thoroughly blend the flour, yeast, and salt. Add the water and, with a wooden spoon and/or your hands, mix thoroughly. We find it easiest to start with the spoon, then switch to your hands.
2. Cover the bowl with plastic wrap or a kitchen towel and allow it to rise at room temperature (about 72°) for 18 hours or until it has more than doubled. It will take longer in a chilly room and less time in a very warm one.
3. Flour a work surface and scrape out the dough. Divide it into 4 equal parts and shape them. For each portion, start with the right side of the dough and pull it toward the center, then do the same with the left, then the top, then the bottom. (The order doesn't actually matter; what you want is four folds.) Shape each portion into a round and turn seam side down. Mold the dough into a neat circular mound. The mounds should not be sticky; if they are, dust with more flour.
4. If you don't intend to use the dough right away, wrap the balls individually in plastic and refrigerate for up to 3 days. Return to room temperature by leaving them out on the counter, covered in a damp cloth, for 2 to 3 hours before needed.


88EEC995-24D7-4E2C-AF19-8B6487A36029-101-000000003B0A1600-1_zps93f3a38f photo 88EEC995-24D7-4E2C-AF19-8B6487A36029-101-000000003B0A1600-1_zps93f3a38f-1_zps693caf12.jpg

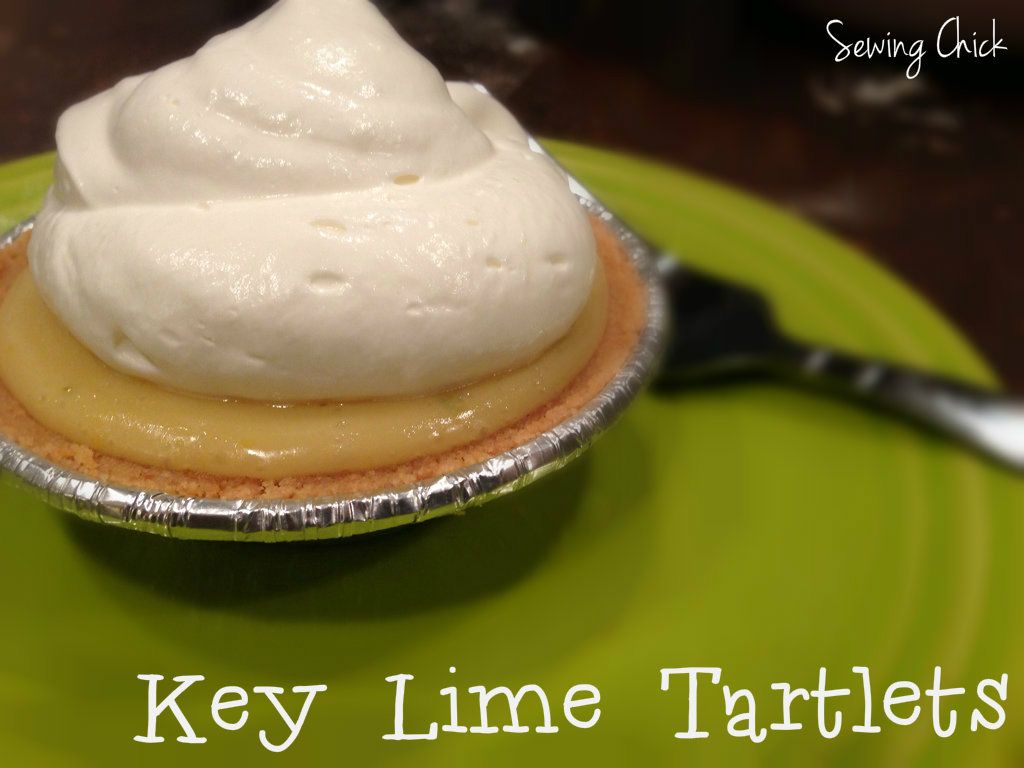
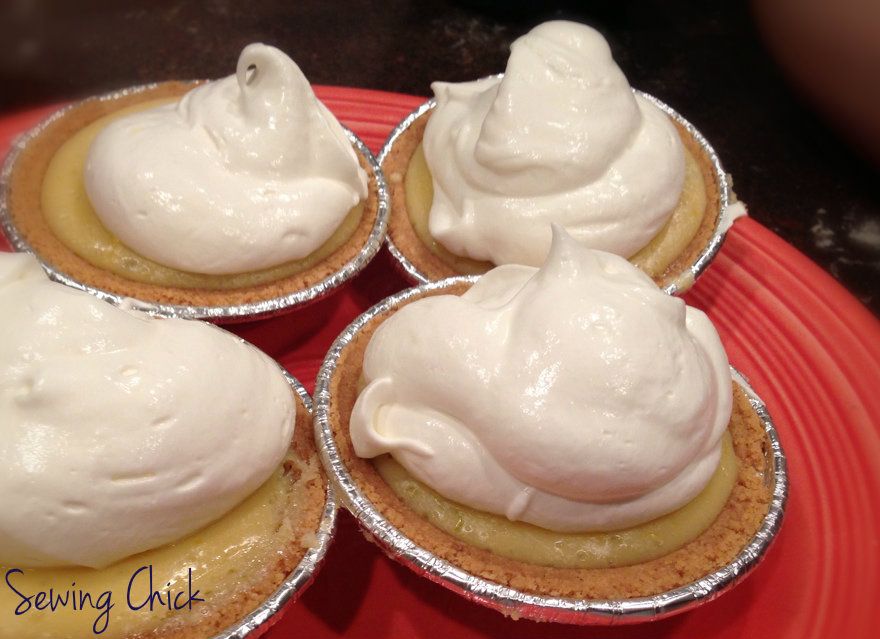
Then, I got a craving for key lime pie last night, so I decided to whip up one today for dinner.  Yesterday was Mr. E's birthday.  While I brought him lunch and had cupcakes at school, it was a swim team night, so we did not have time for a big thing at dinner.  I tried to make up for it today with delicious homemade pizza, a stop with hubby at GameStop, and key lime tartlets.  

I also got the stupid idea that instead of just buying Key lime juice already squeezed, I'd just buy 50 million key limes and squeeze them myself.  Um...not one of my brightest moments, nor was it very fun pulling out about 100 million tiny seeds before juicing them.  I think I squeezed about 25 key limes to get my 1/2 cup of lime juice.  Next time, I'm probably going to buy the juice in the bottle.  


Instead of one big pie I wanted to make mini pies, so I bought these Keebler little tart shells.  They were at Walmart and very inexpensive.  It came with six tart shells, which was perfect for my recipe.  

F45C77A3-98E4-45E0-848B-E545F517E828-12079-000006FB774C7676 photo F45C77A3-98E4-45E0-848B-E545F517E828-12079-000006FB774C7676-1_zps5dd2ebe8.jpg

Key Lime Tartlets
Yields: 6 tartlets

Ingredients:
3 egg yolks
14 oz can of sweetened condensed milk
2 tsp lime zest
1/2 cup of key lime juice

Whip Cream Topping
1 cup of heavy whipping cream
1-2 tbs powdered sugar (though regular sugar will work in a pinch)

Preheat oven to 350.  Combine all 4 ingredients until smooth and well mixed.  Pour into tart shells. (I filled mine to just a tad above the shell.)  Bake at 12-13 minutes until set.  Then, chill in the fridge for 1 hour. 

When ready to serve, whip the whipping cream and sugar until peaks are formed.  Dollop a couple spoonfuls onto the tarts and serve.  

I was kind of nervous when I was investigating various recipes on how to make key lime pie.  It's very straightforward and not nearly as daunting as you might think.  I was pleasantly surprised mine came out perfectly delicious!  

My  key lime tartlets were featured over at Ladybird Ln!! How exciting!!
Ladybird Ln