
I know my family always has a bag of t shirts that are too small just waiting for the next yearly garage sale. But...you can use up some of those t shirts in a new way. Just cut strips of various lengths and make rosettes.
This is a super easy way to use up old t shirts and give your baby a chic look. It's also a great way to hide stains on solid color onesies or t shirts, too. This same technique can be done on any other fabric or clothing item as well.
If you would like the downloadable version of this tutorial to save for later. Please click the picture:
Materials
·
Onesie or t shirt
·
0.5 inch and 1 inch strips of old t shirts
·
Coordinating
thread

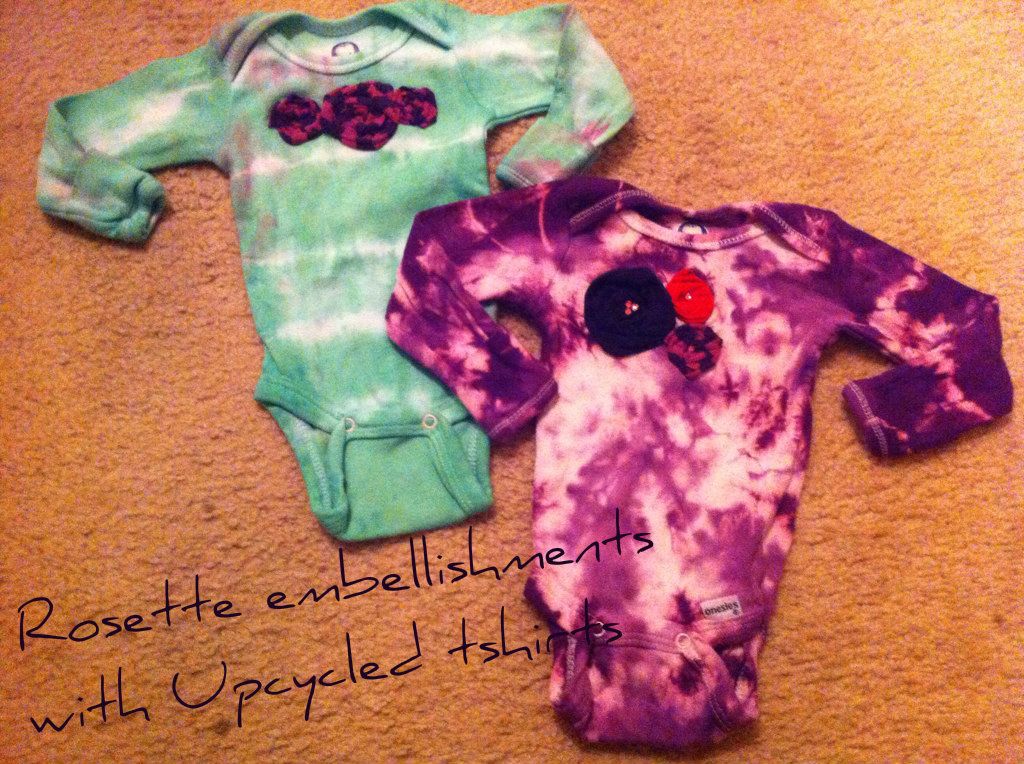
**These were
onesies I had previously tiedyed. You do
not need to tiedye yours for this tutorial.
I just like tiedyed onesies. A
lot. And I picked up used ones at thrift
stores for super cheap and dye them all the time.
1. Cut strips of t shirt roughly ½ inch to 1 inch in with by various lengths. I do this from the leftover sleeves from making upcycled pillowcase style dresses out of old men’s t shirts.
2. To form the rosette, roll up a strip of t shirt in kind of a smashed way, like the picture. Make sure to keep the ends tucked into the back of it. The longer the strip, the larger and thicker the rosette will be.

3. Once you are happy with the size of the rosette, pin it on the onesie.

4.
There are
two options to sew the rosette.

a.
Beginning
at the outer edge, sew around and around in a spiral until you finish off in
the middle of the rosette – make sure you backstitch at the beginning and end. Try to get as much of the fabric into your
stitches so that nothing is loose.

b.
Another option is sewing a big zigzag back and
forth through the rosette, just make sure nothing is left loose. With the red rosette, the zigzag design can
easily be seen.

5.
Once you
are satisfied with your rosettes, you’re done!
You can add some extra embellishments such as hotfix crystals as shown
in the second picture below.

©2012 Stephanie Pass Sewing Chick Studio / The TipToe Fairy


3 comments:
Tied dyed onesies AND rosettes? I'm in love! Thanks for sharing! :)
Aaahhhh, a girl after my own ♥
Those are just gorgeous!
Post a Comment