
 I created this little tutorial when I was making a ribbon pin/brooch to complete a little outfit for The TipToe Fairy. This tutorial shows you how to attach it to a baby headband as well. You can find the baby headbands at craft stores like Hobby Lobby super cheap. These ribbon flowers are fun little accents to dress up anything from heads, bags, and clothing. You can add them to headbands and clothing or even attach them directly to hair clips. So cute!!
Materials:
1-4 yds of 1 to 1.5 inch wide ribbon (I prefer grograin, but any will be fine)
needle and thread
sewing machine
small piece of felt
pin back, headband, alligator clip, etc.
Tutorial:
** For this tutorial I used just 1 yd of ribbon.
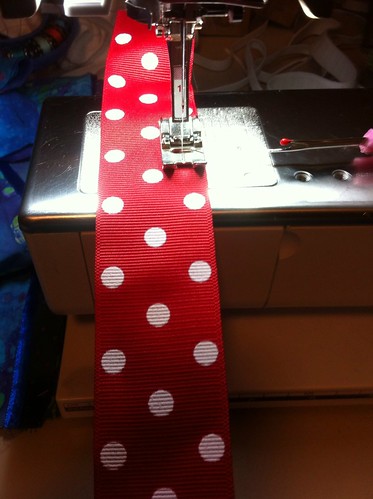
1. First sew a gathering stitch along the entire length of ribbon, about 1/4 inch from the edge.
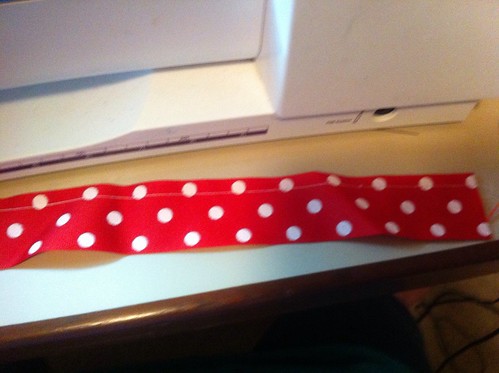
2. Pull the threads to create a gathered ribbon. It will flip all over it self until you start the flower.
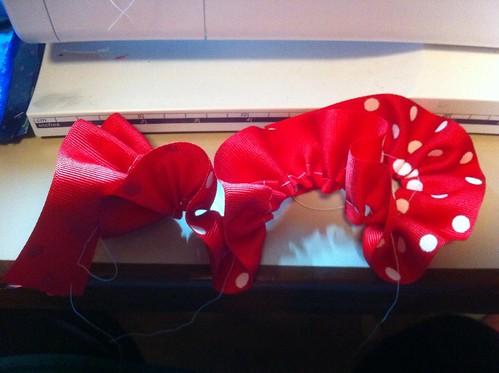
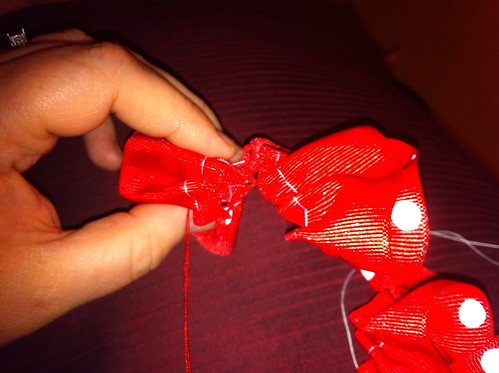
3. Prepare your needle and thread. This is a little tricky...while holding the threads taut to keep the gather, fold the raw edge of the ribbon over two times then with a needle and thread sew together those edges near the gathering stitches. Then, you will slowly wrap the gathered edge if the ribbon into a tight spiral. Sewing the gathered edge together all around the flower as you go.
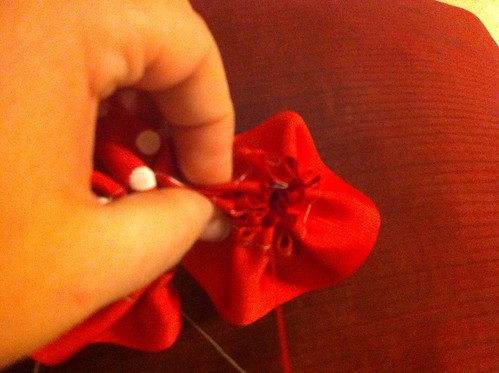
4. Just as you began folding the raw edge over twice, do the same with the end of the ribbon as well. Then, when the ribbon is completely wrapped, sew back and forth around the gathered edges to make sure the ribbon flower stays nice and tight.

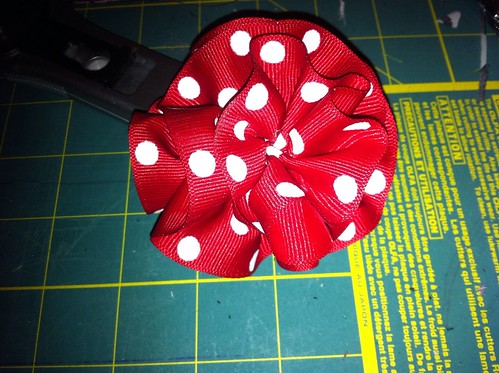
Here is the finished flower:
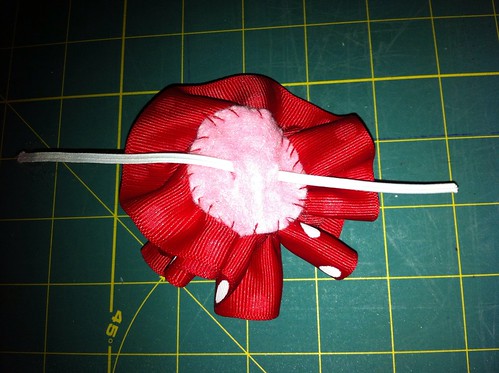
5. Next, cut a circle of felt to cover the gathered edges and whipstitch around the edges.
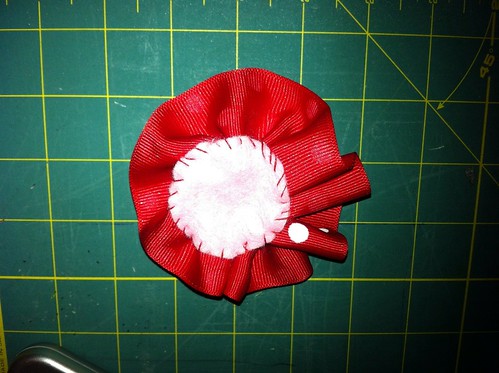
6. Optional: To attach to a baby head band, cut two small slits and slide a length of 1/4 inch elastic through. Then insert the elastic into the baby headband and tie off. Cut the loose ends short.
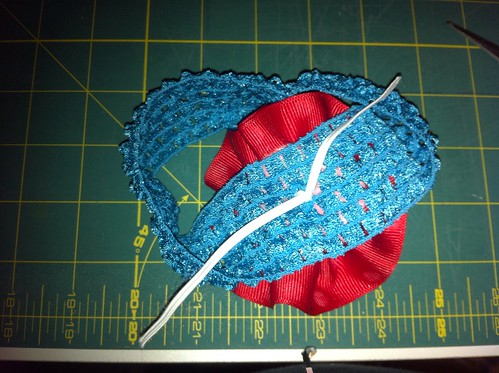

And you're done!


No comments:
Post a Comment